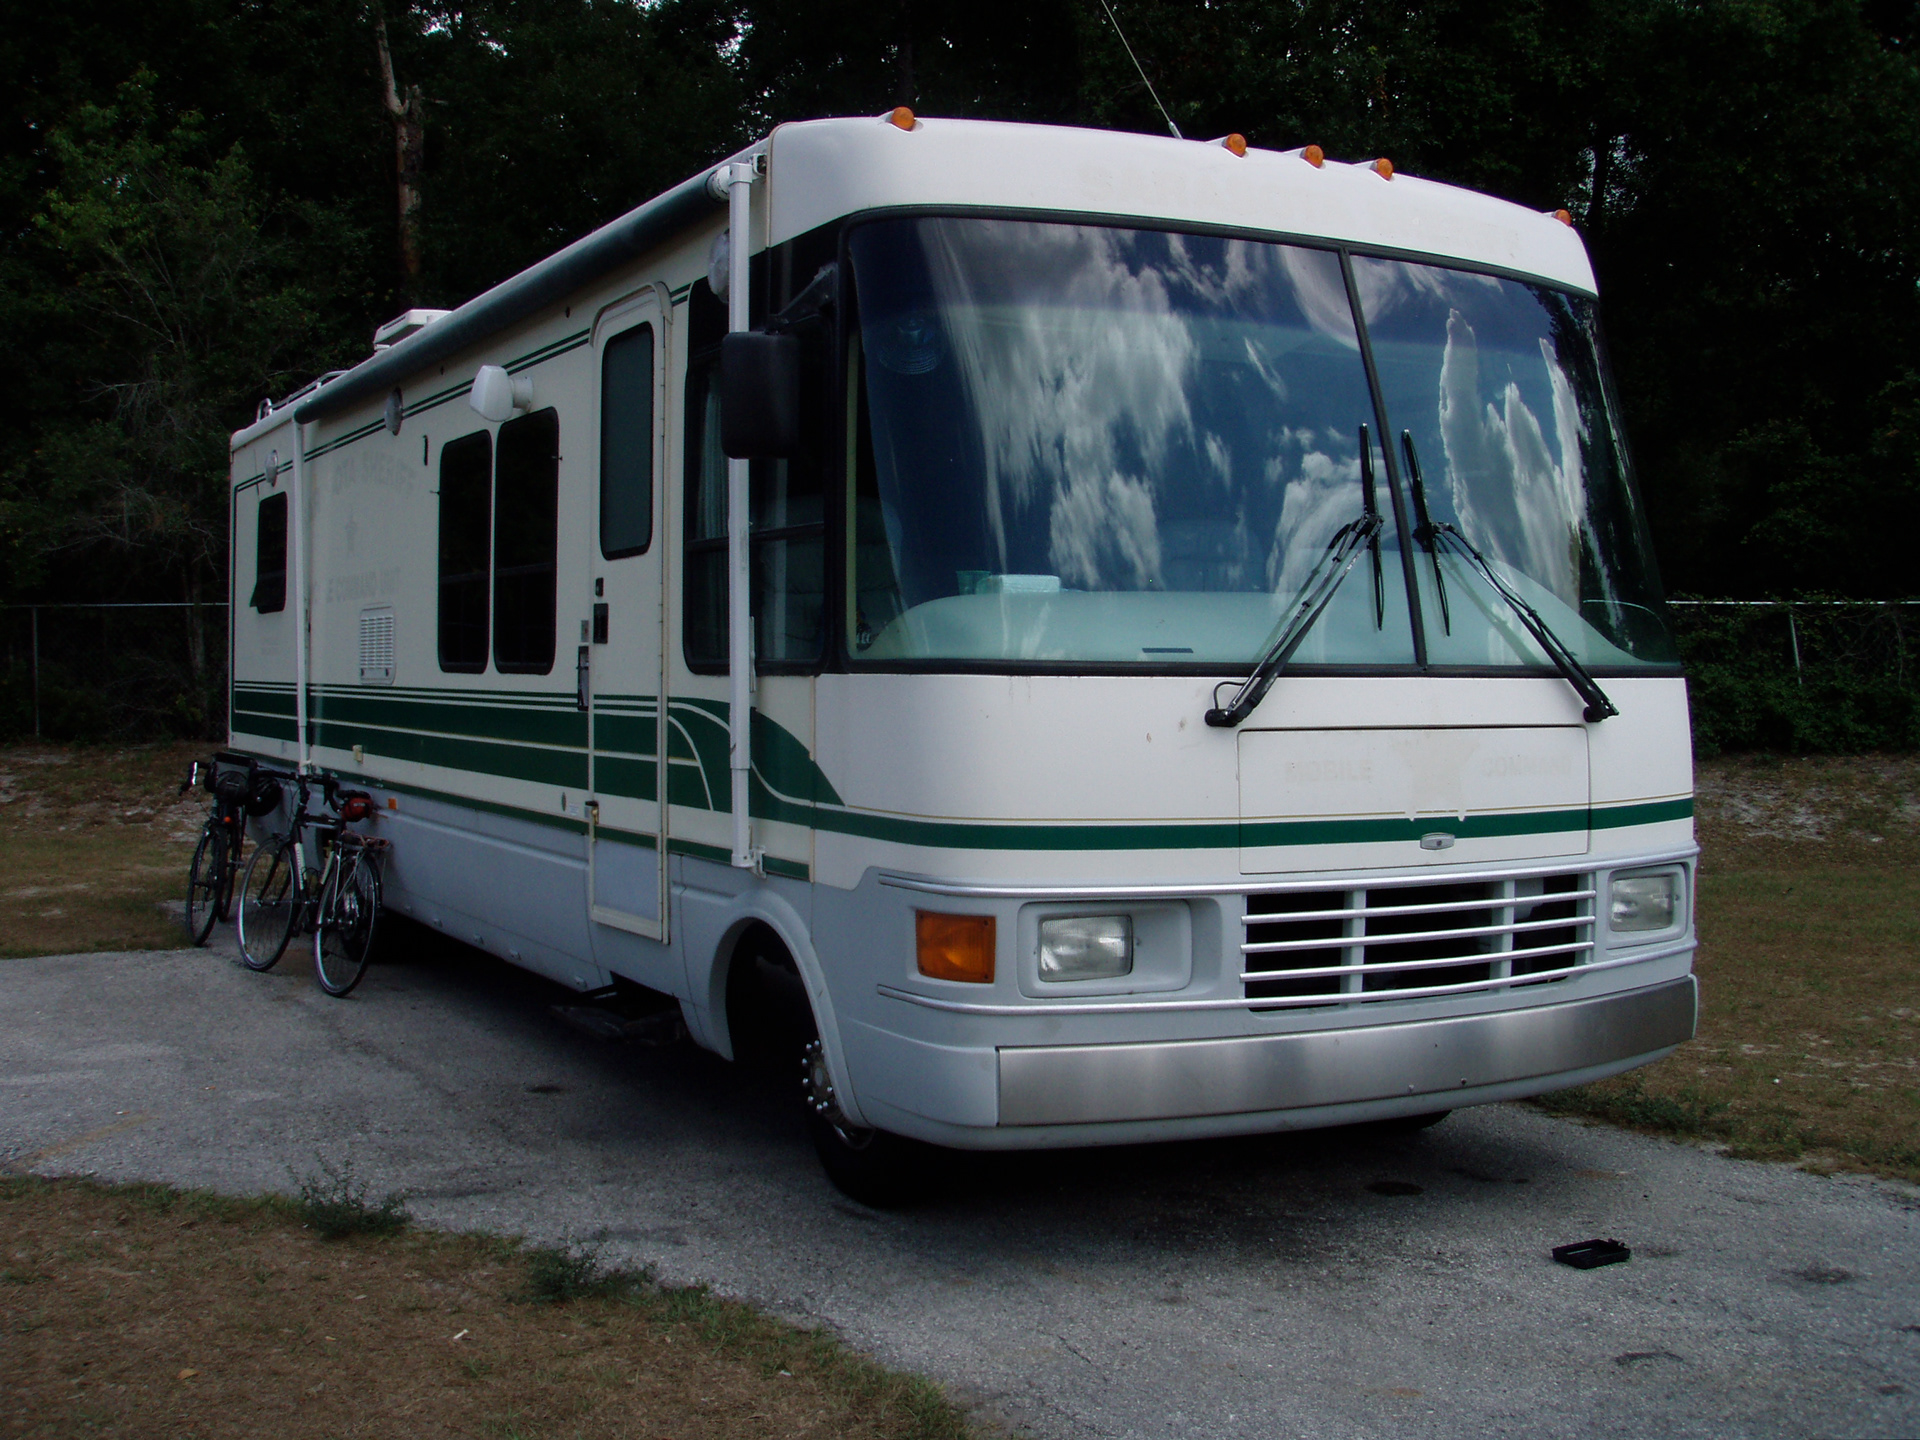
Originally nothing more than a regular old Dolphin RV, it is now a versatile mobile production facility. The extrerior is left mostly untouched so as to remain inconsipicuous on the road but the interior is re-designed to be a fully functional recording and mixing facility. It is also a useful resource for remote location video productions, offering ample storage to transport gear, desk space to flesh out a production office, generator power, a kitchenette, restroom, and the mixing suite can double as an edit bay. Power comes from solar on the roof or an internal gas generator that sips fuel from the same tank as the engine.
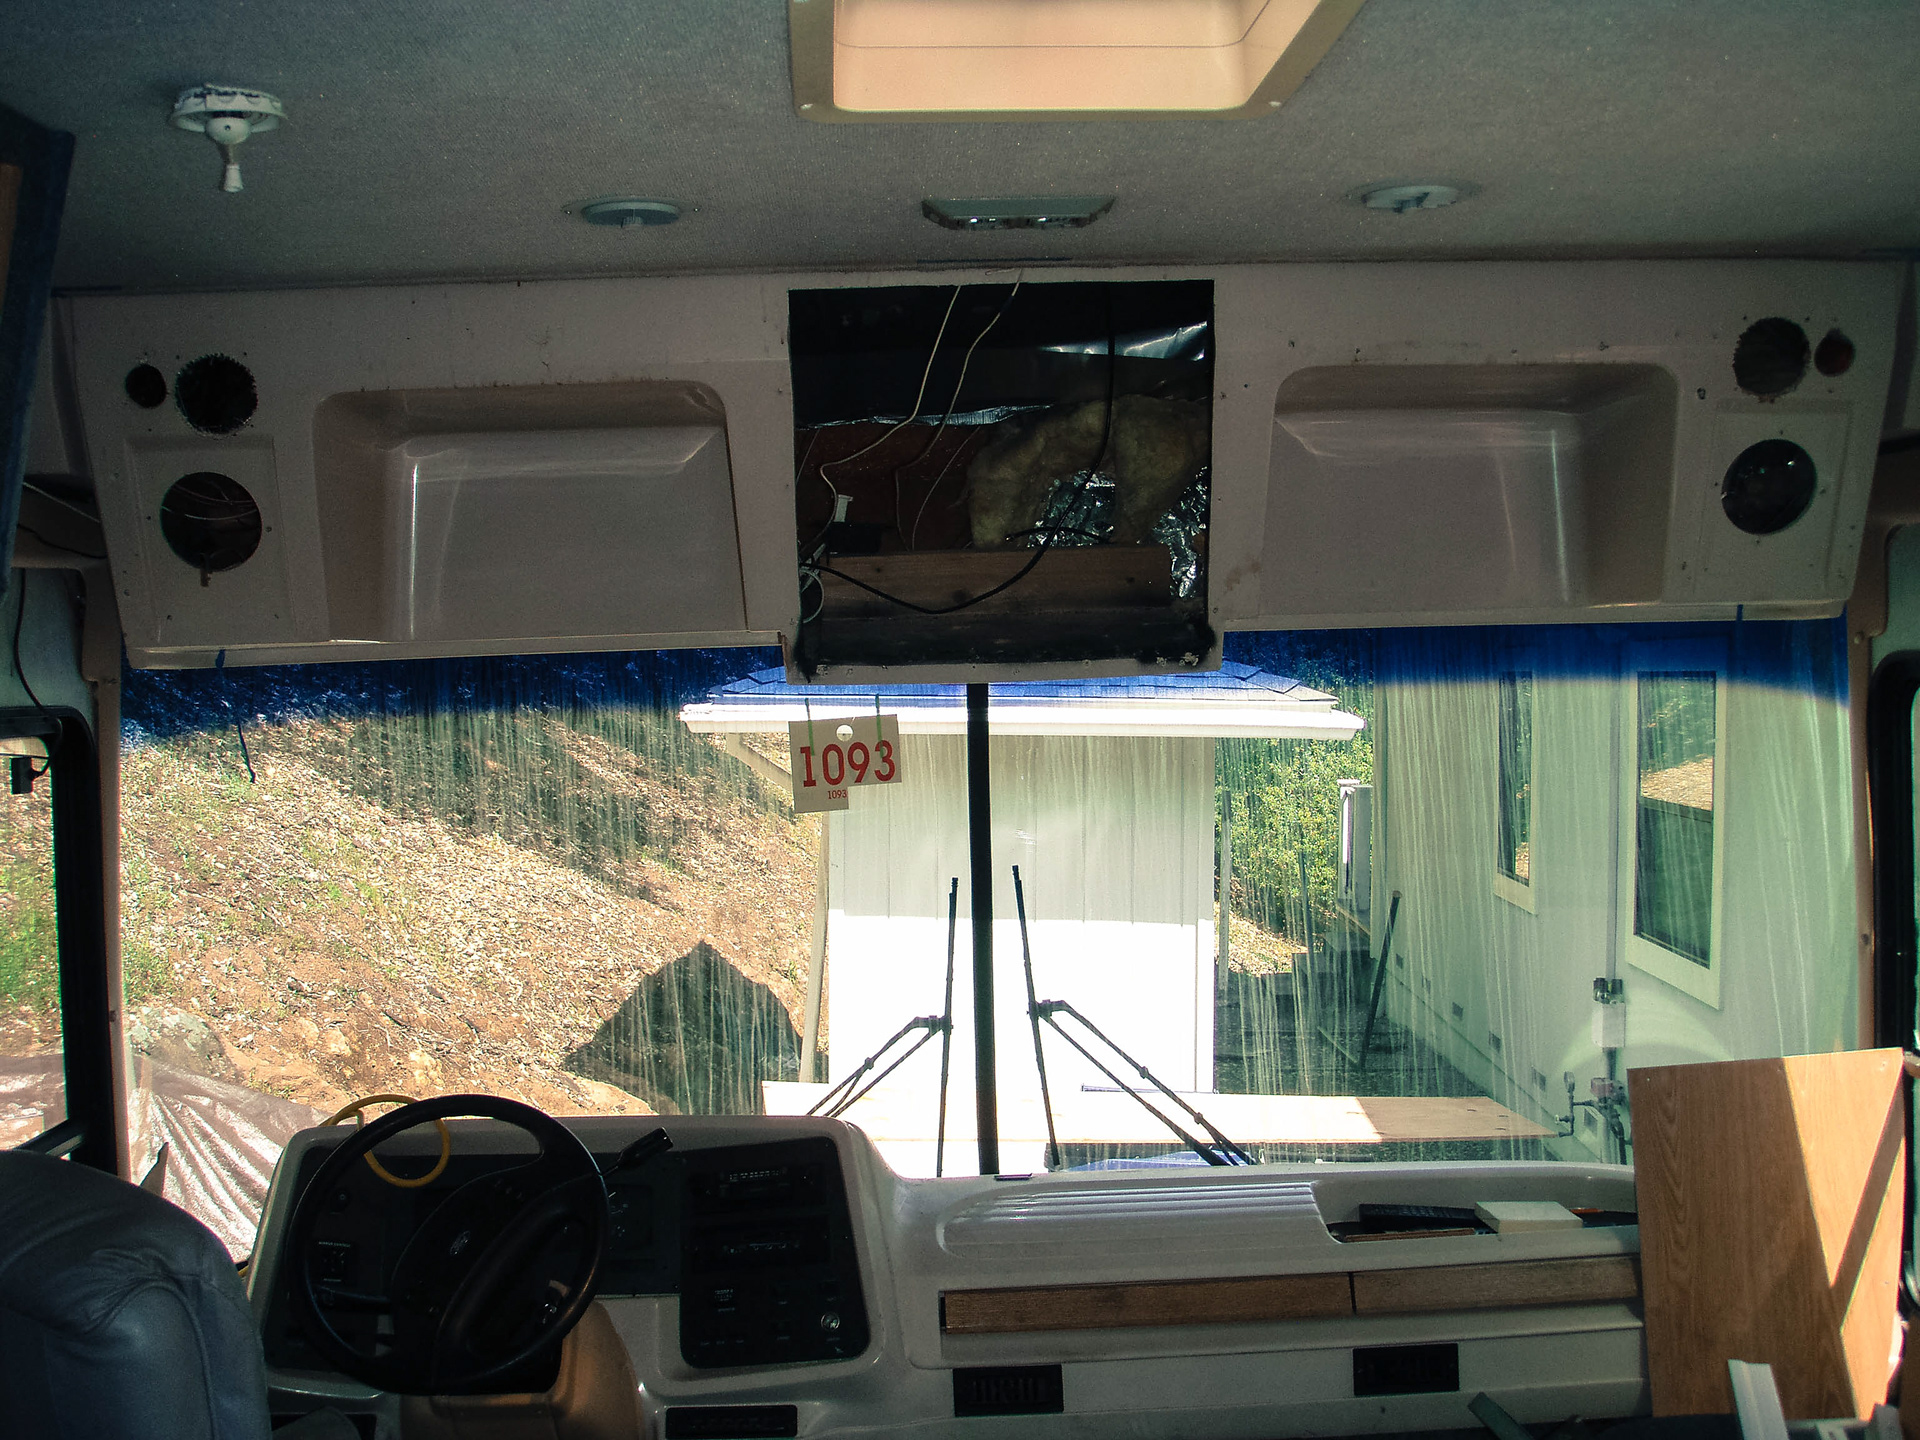
While I did not think to thoroughly document the process of renovating the interior, I have a few images that serve to illustrate a glimpse of the work that went into it. The process of reconditioning the driver's cab (seen above) is a good example.
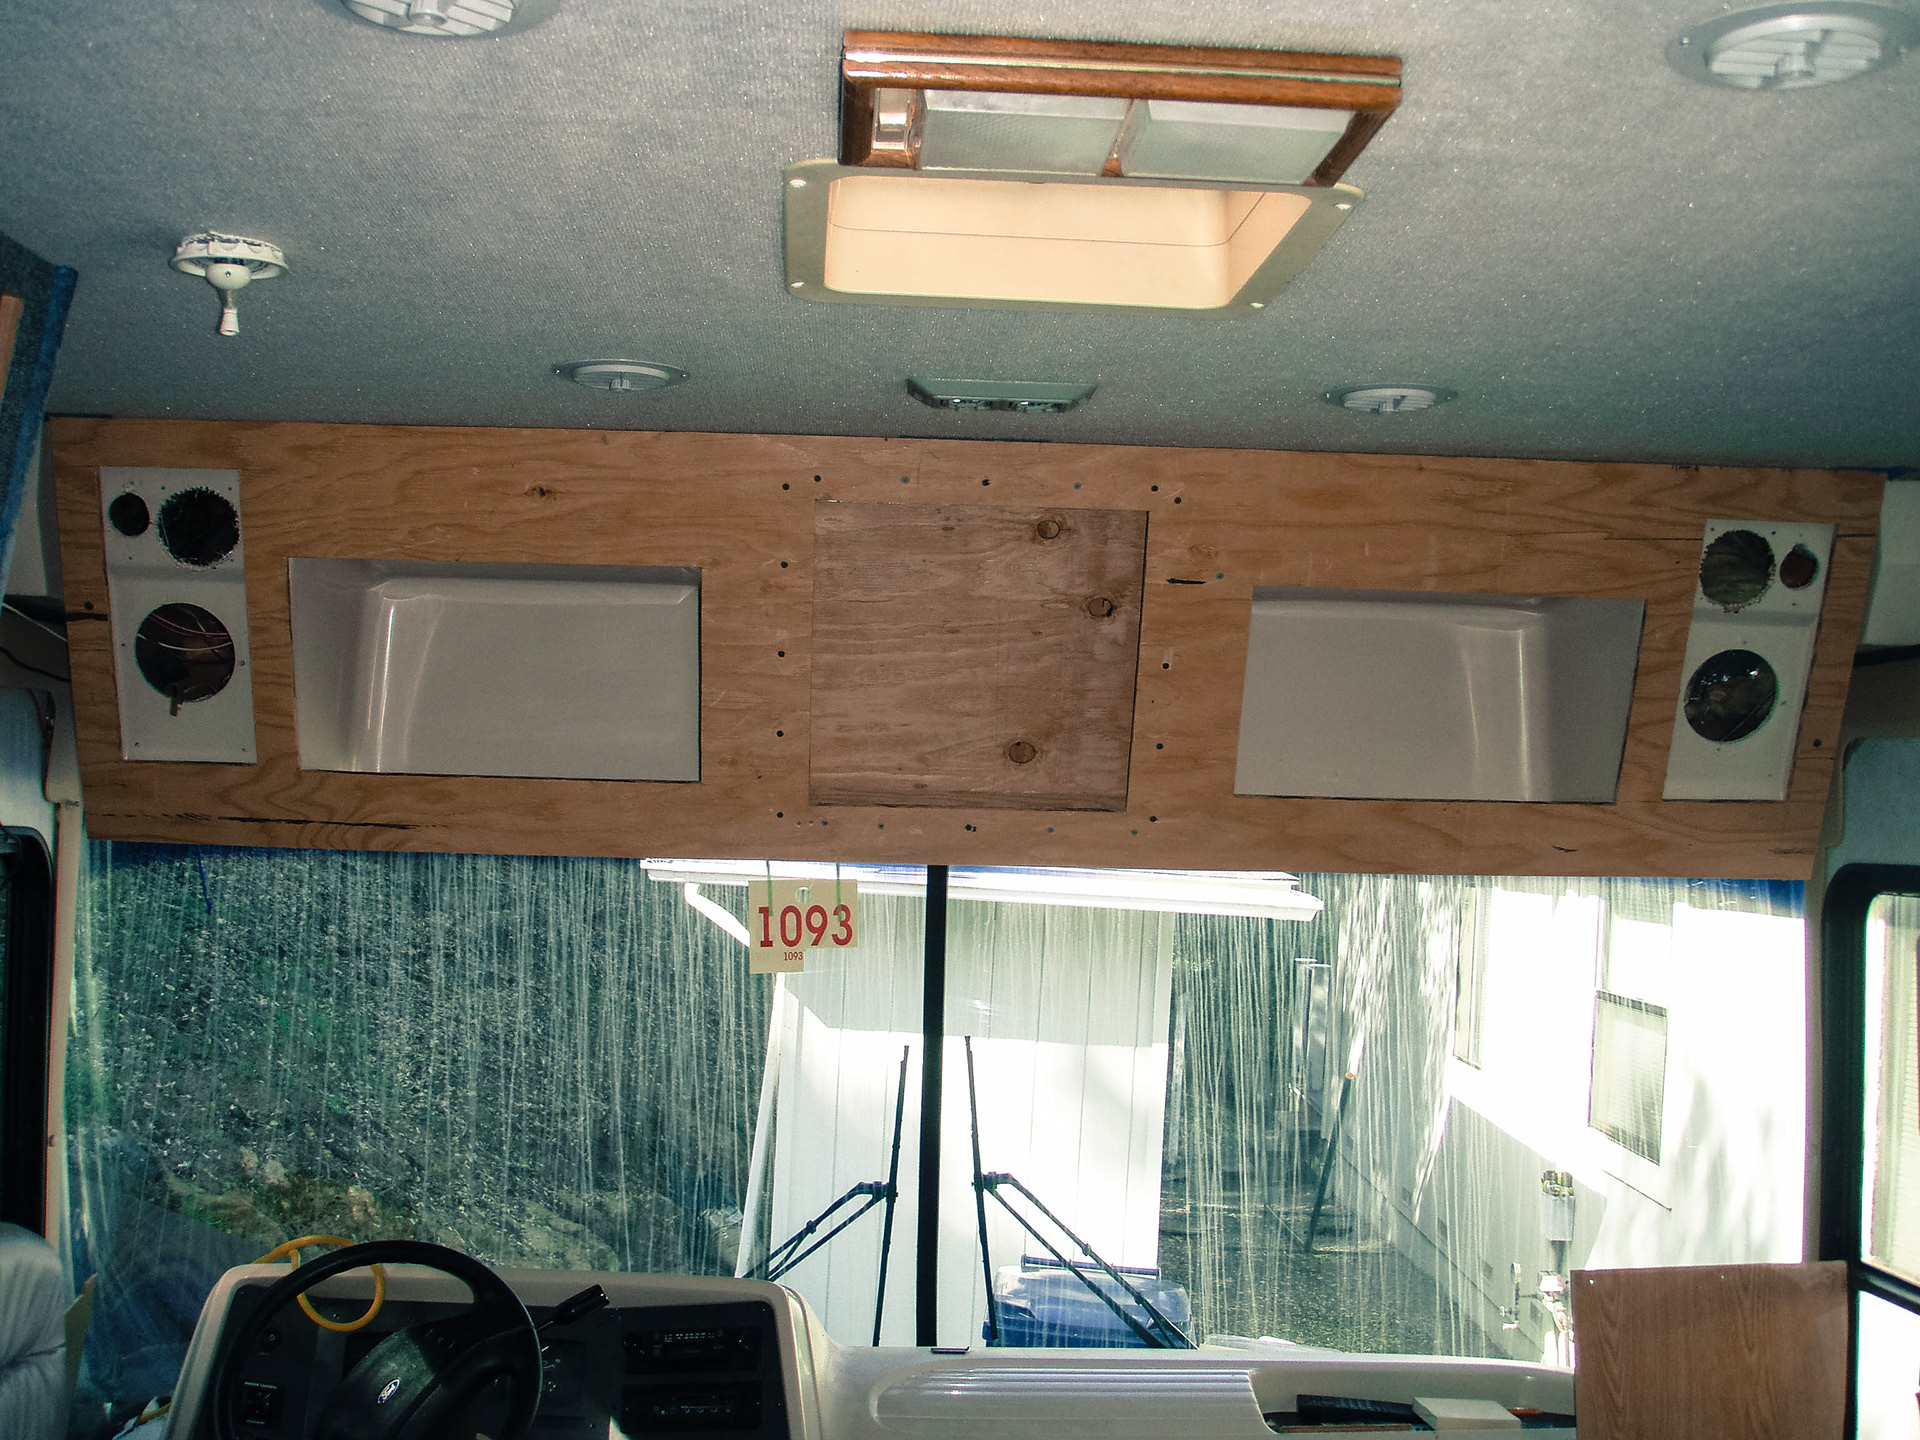
First the overhead dash cupboards needed to have a new face cut from plywood and attached over the fiberglass structure.

Then the speaker surrounds had to painted black (so as no to appear through he grille covers) and the entire facia had to be carpeted (which was also done to the rest of the vehicle) and a cupboard door was added, recessed into the location where the original CRT TV was. This cupboard door would have a VESA mount attached to it so that a flat screen could be placed there. Extra attention was spent to use strong, tight hinges with bolts to lock the door firmly in place when closed while still allowing access to video equipment to be installed inside the large cavity behind the screen.
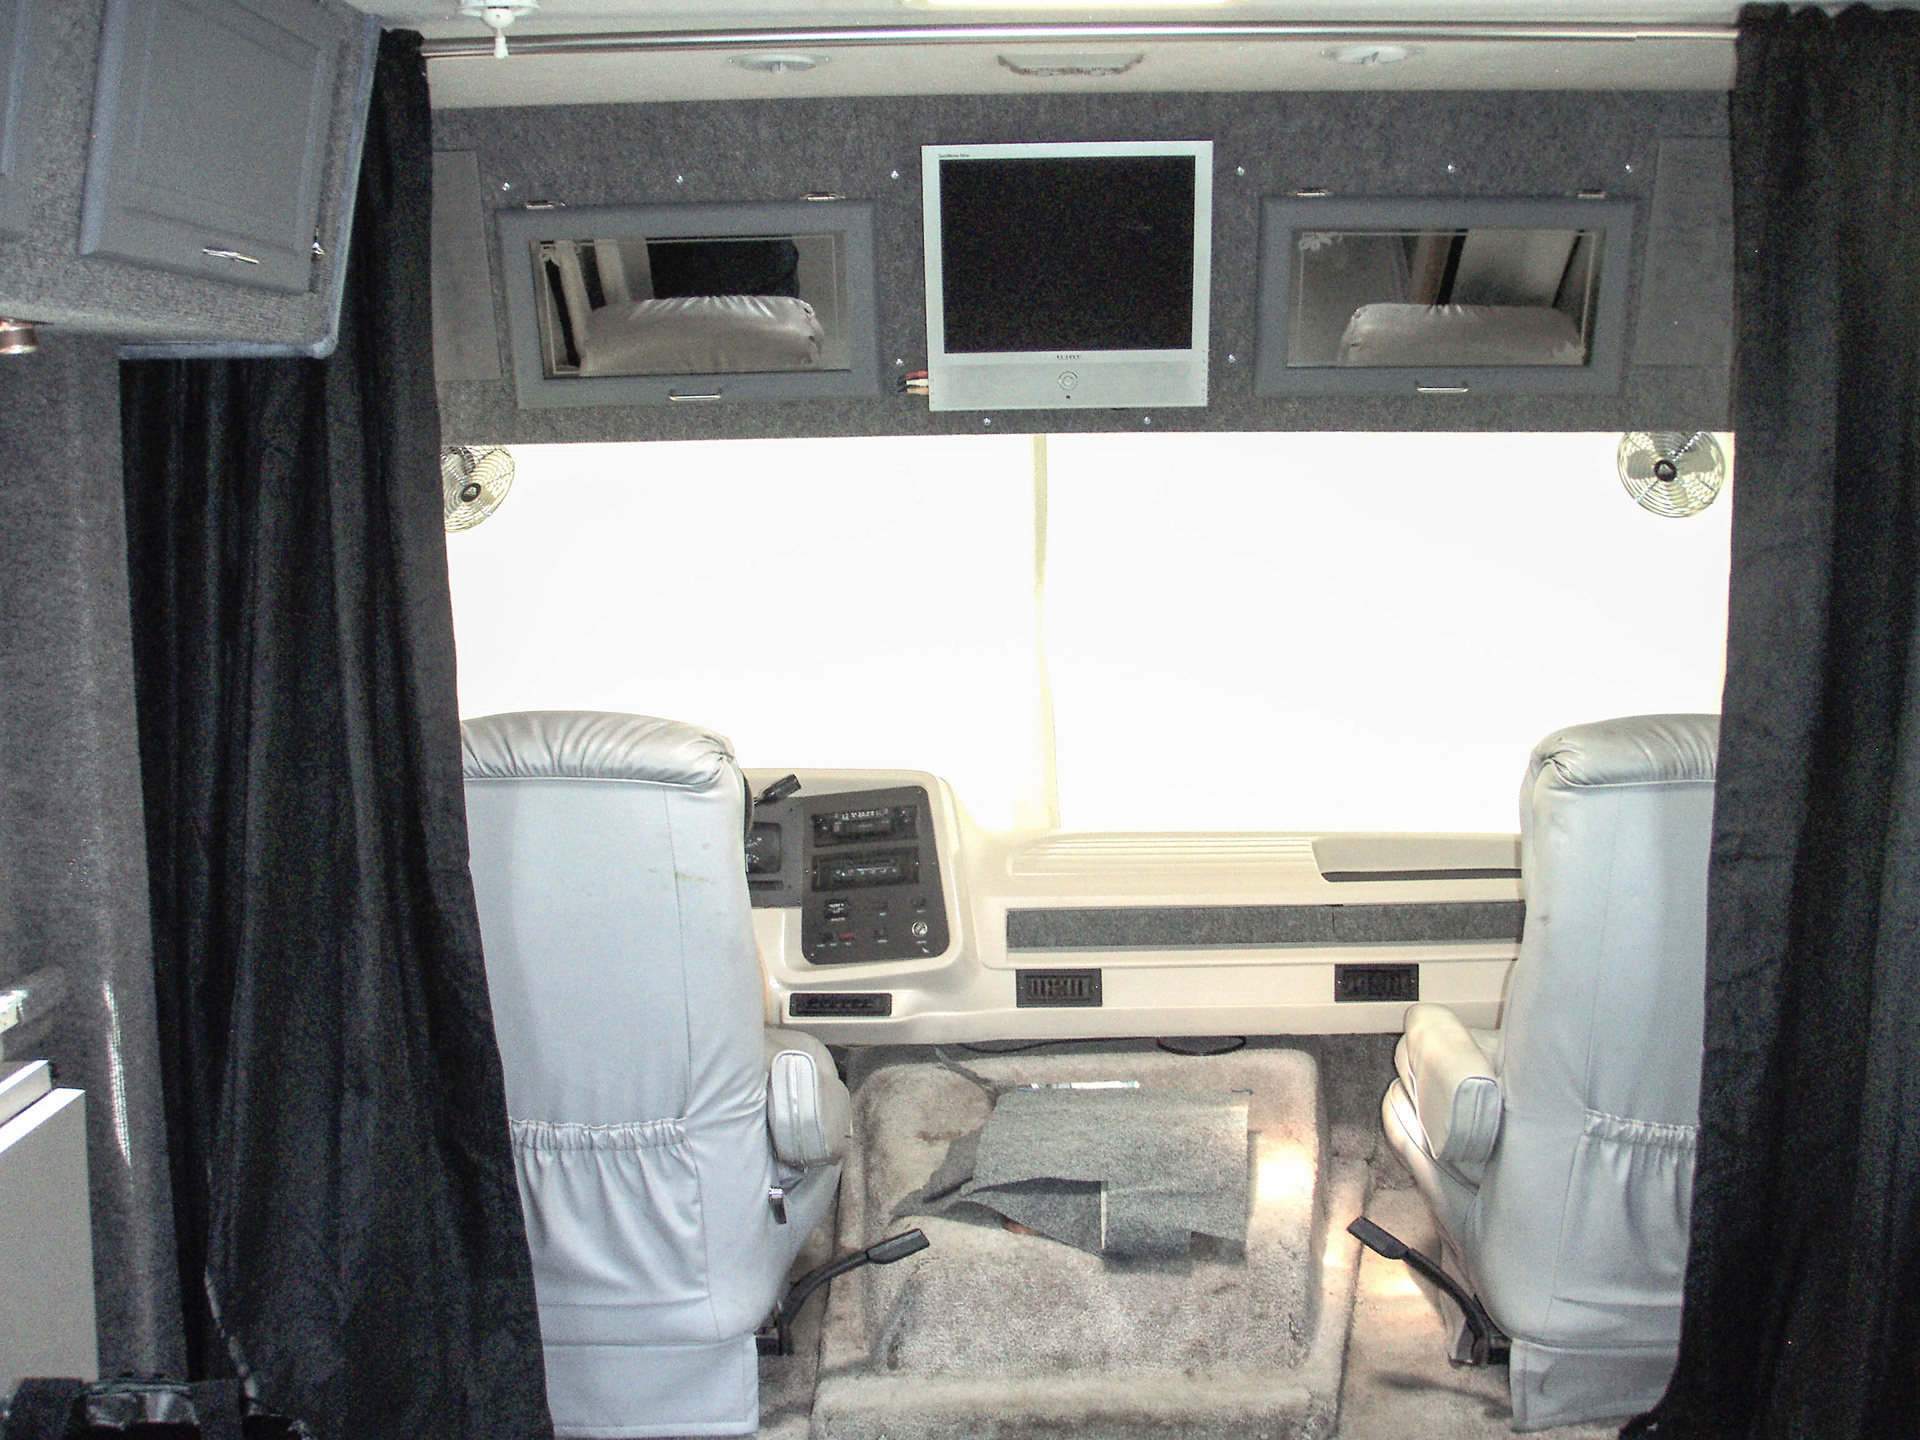
Extra carpet trim was added to the dashboard in order to maintain a sense of aesthetic consistency. The curtain rod and blackout curtains were added as a finishing touch which can be closed when the studio is parked in order to virtually eliminate the impression of being in a vehicle.
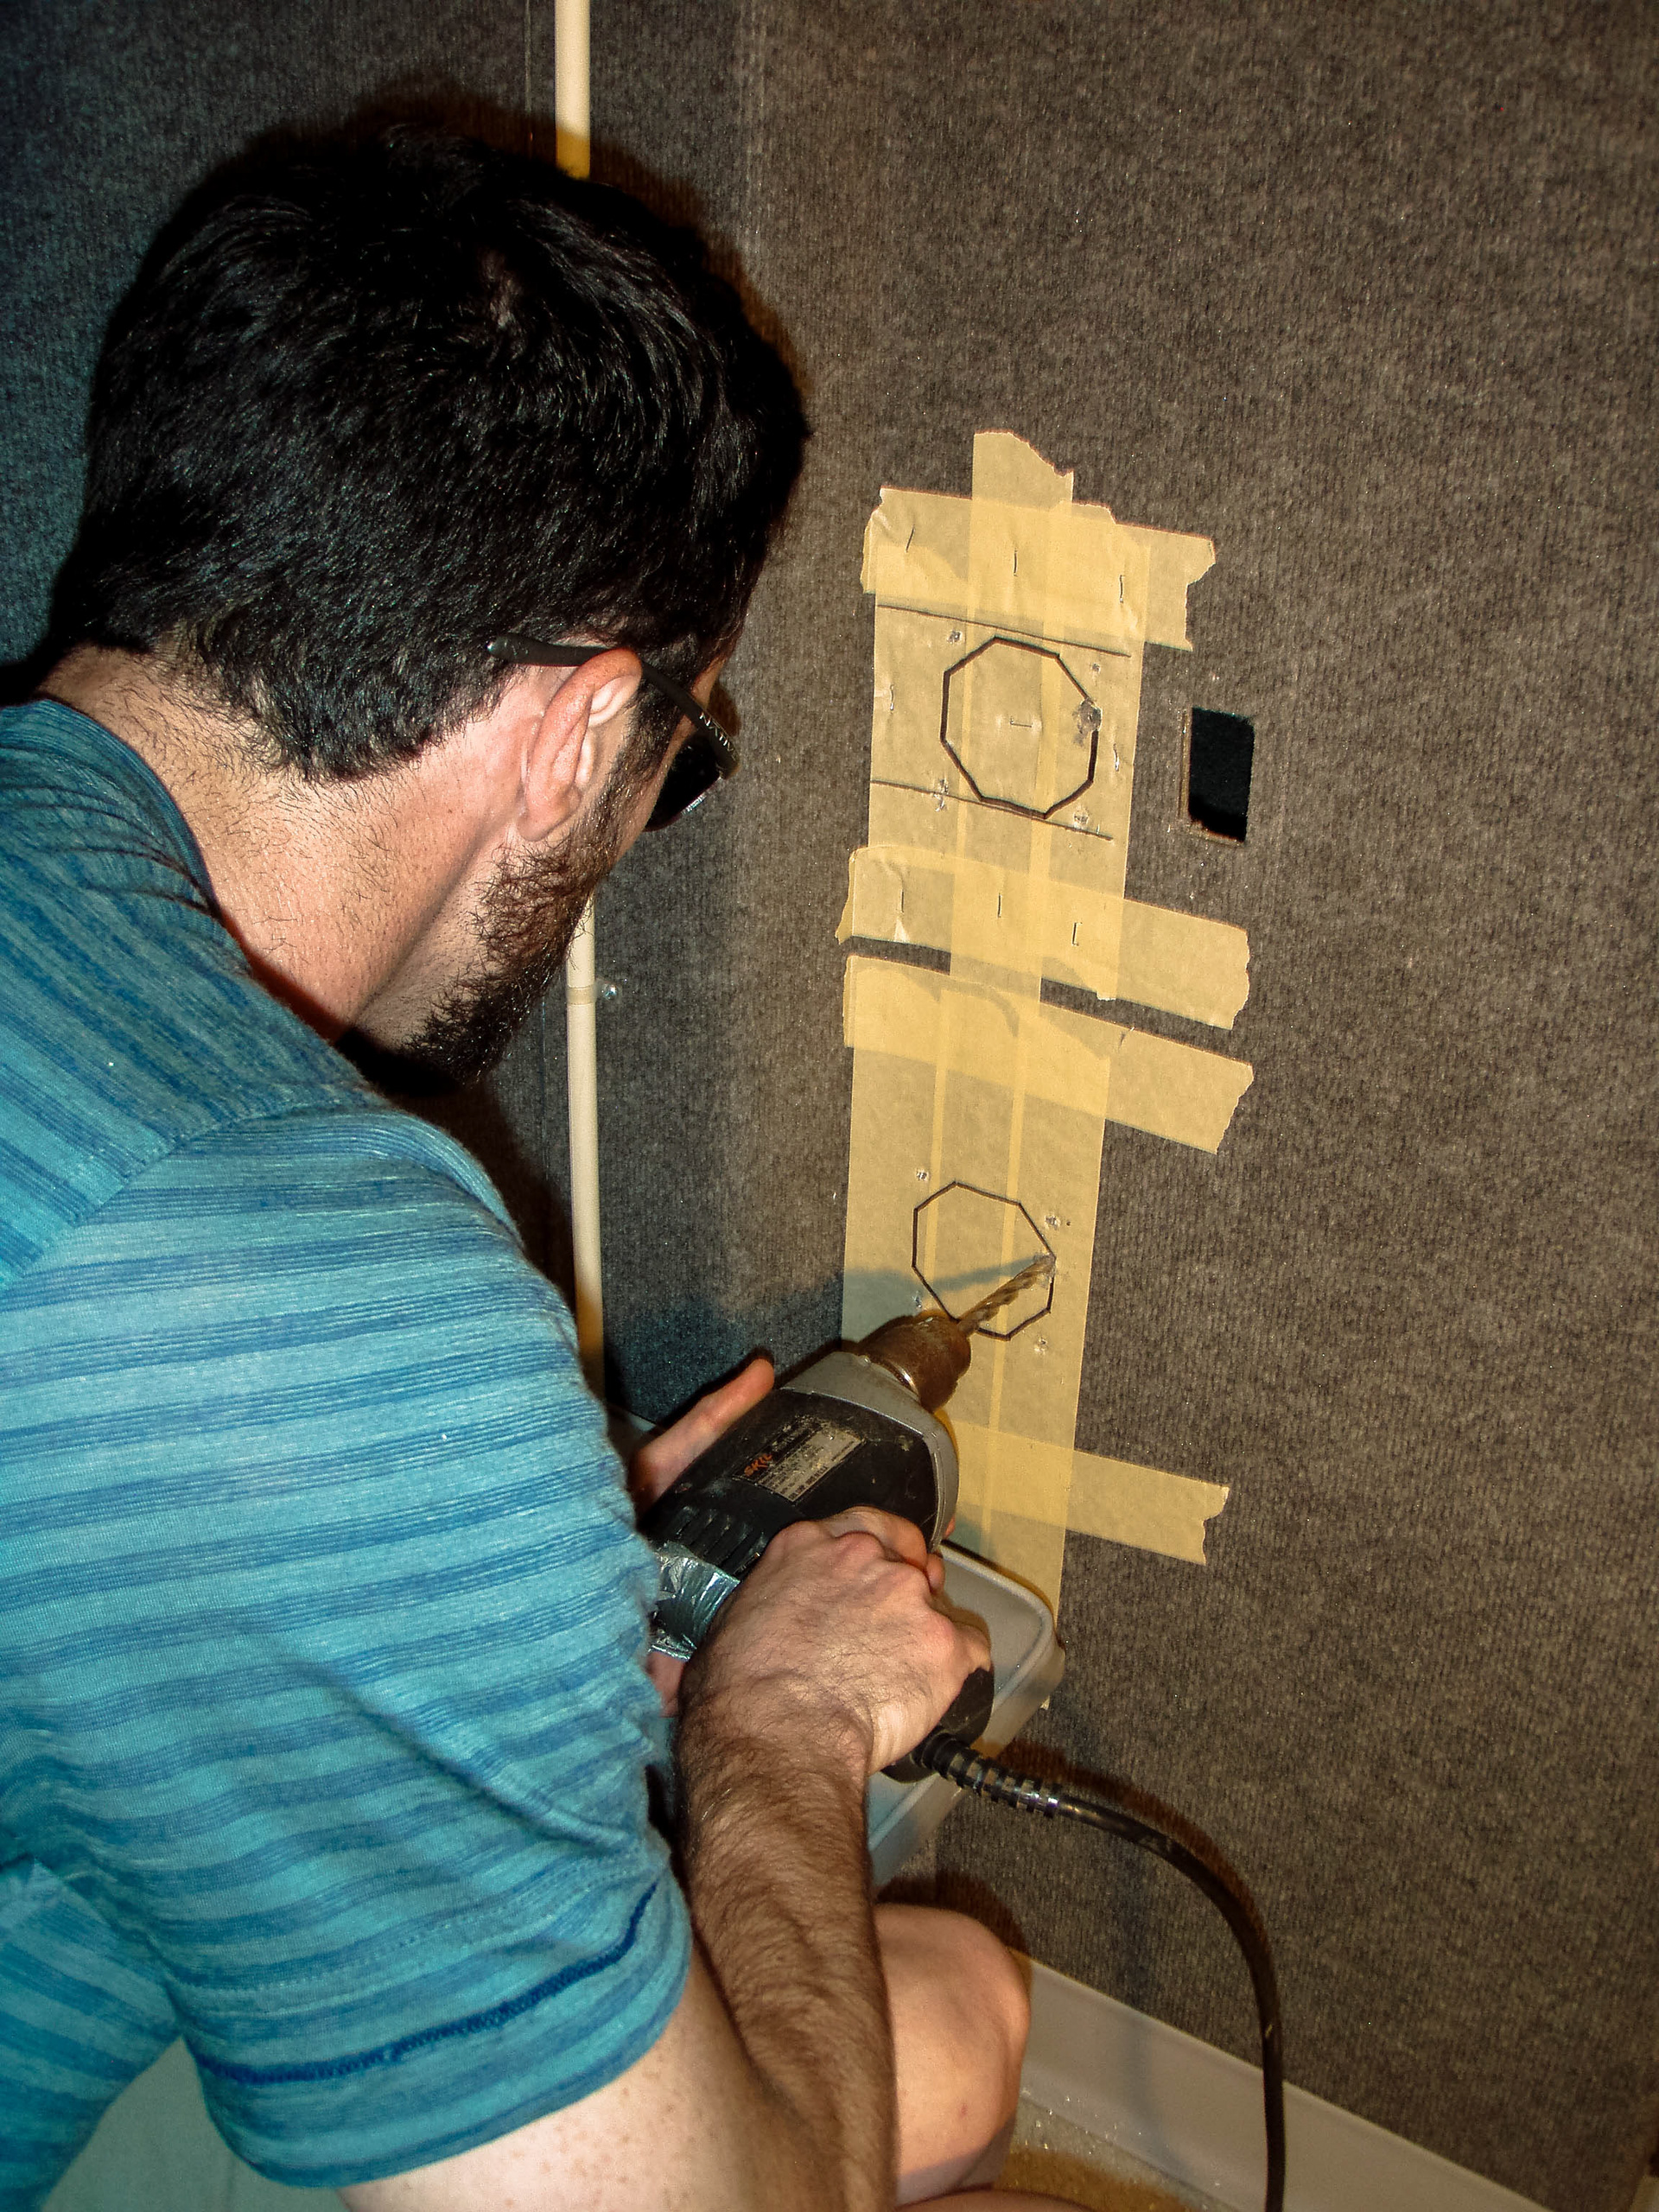
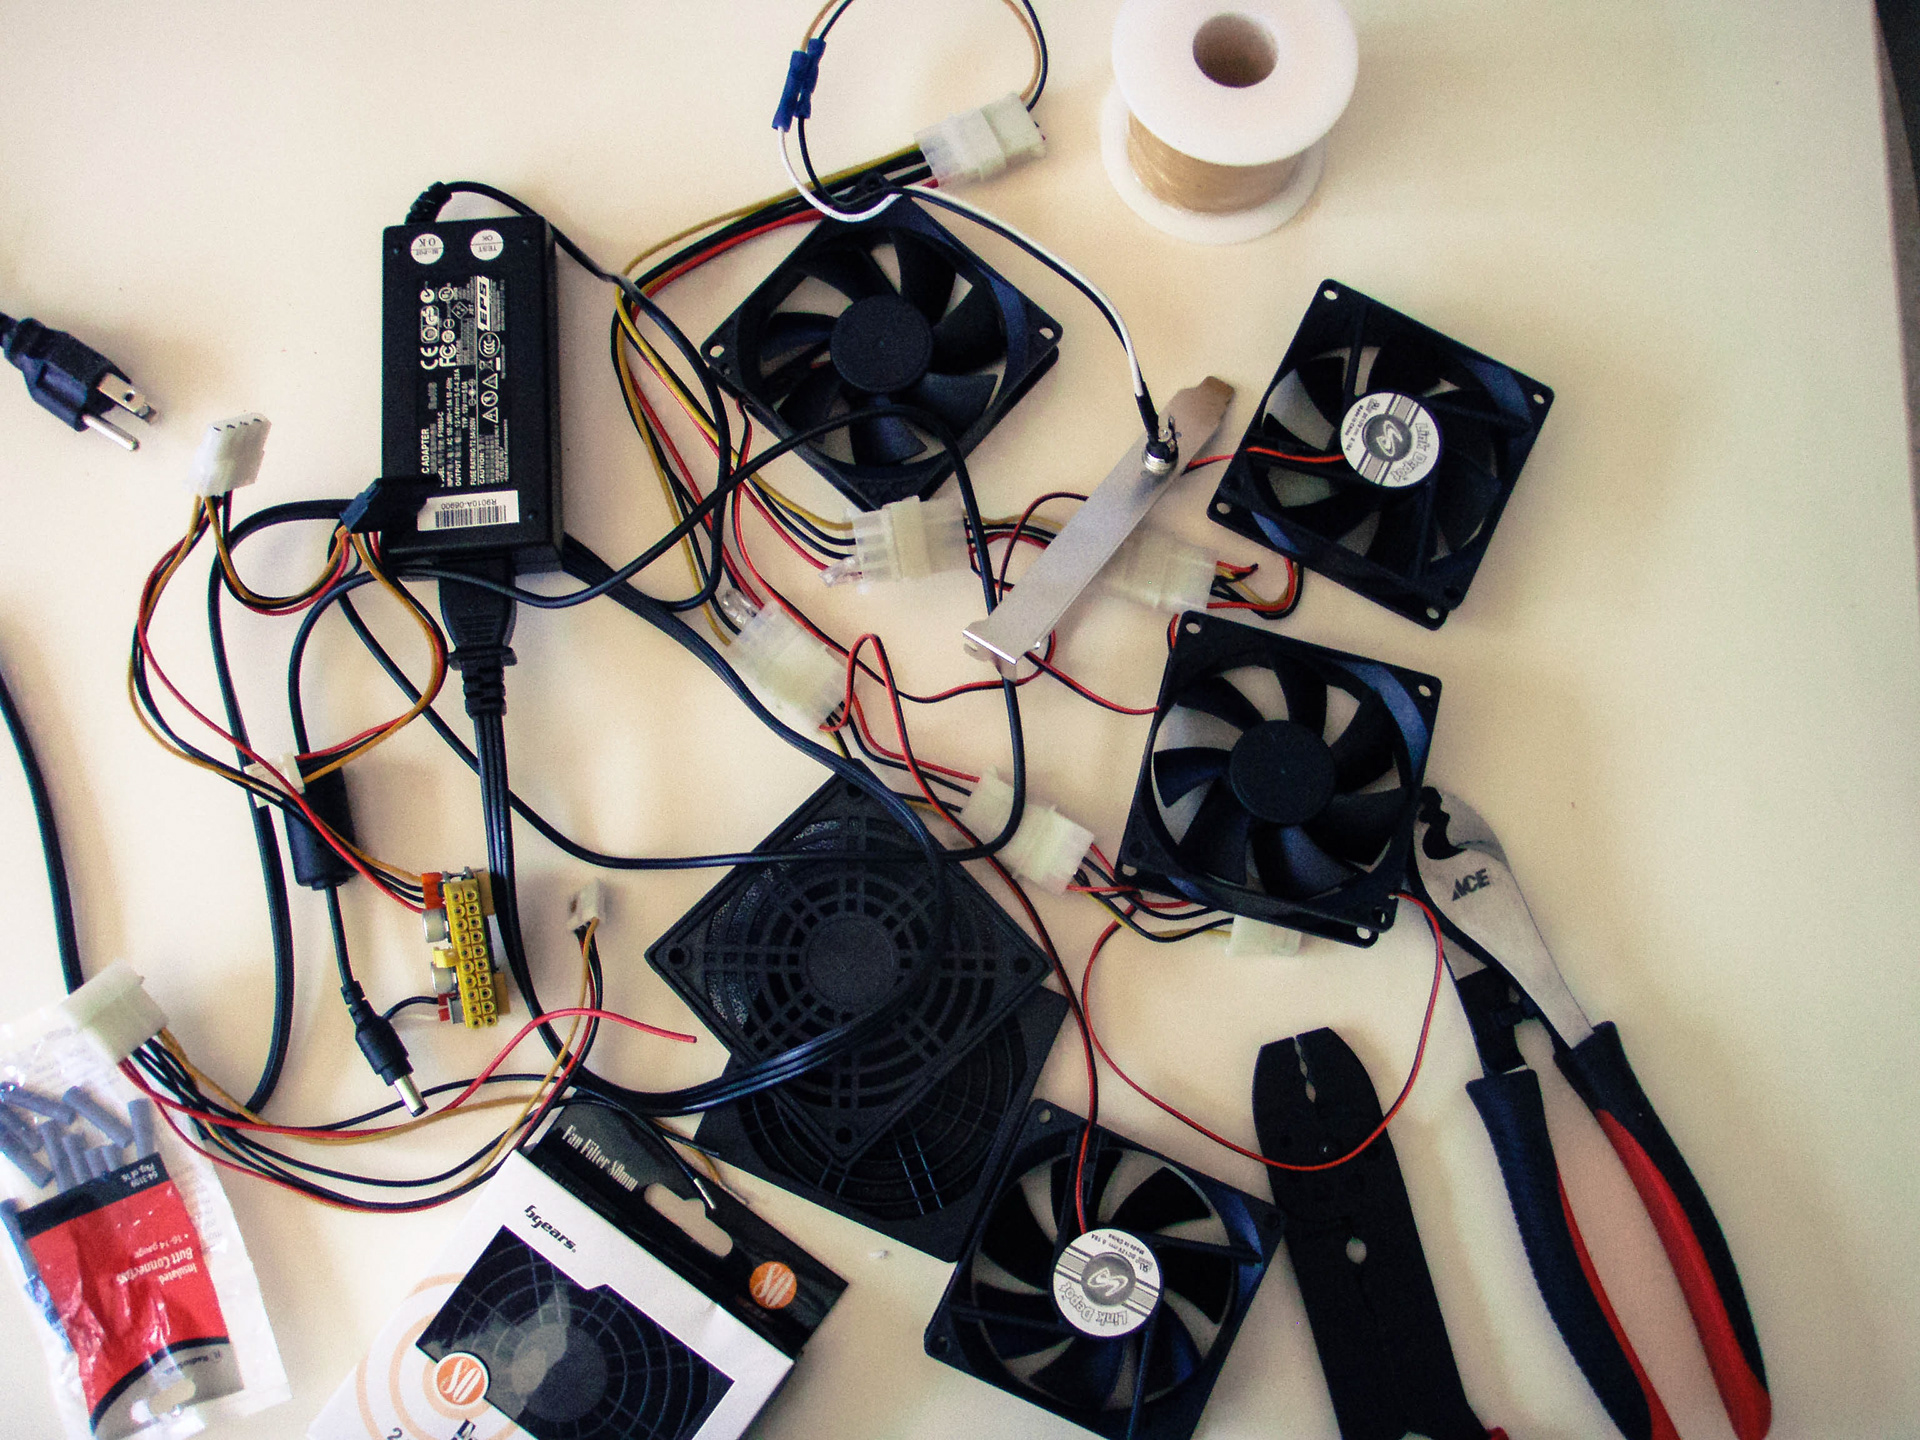
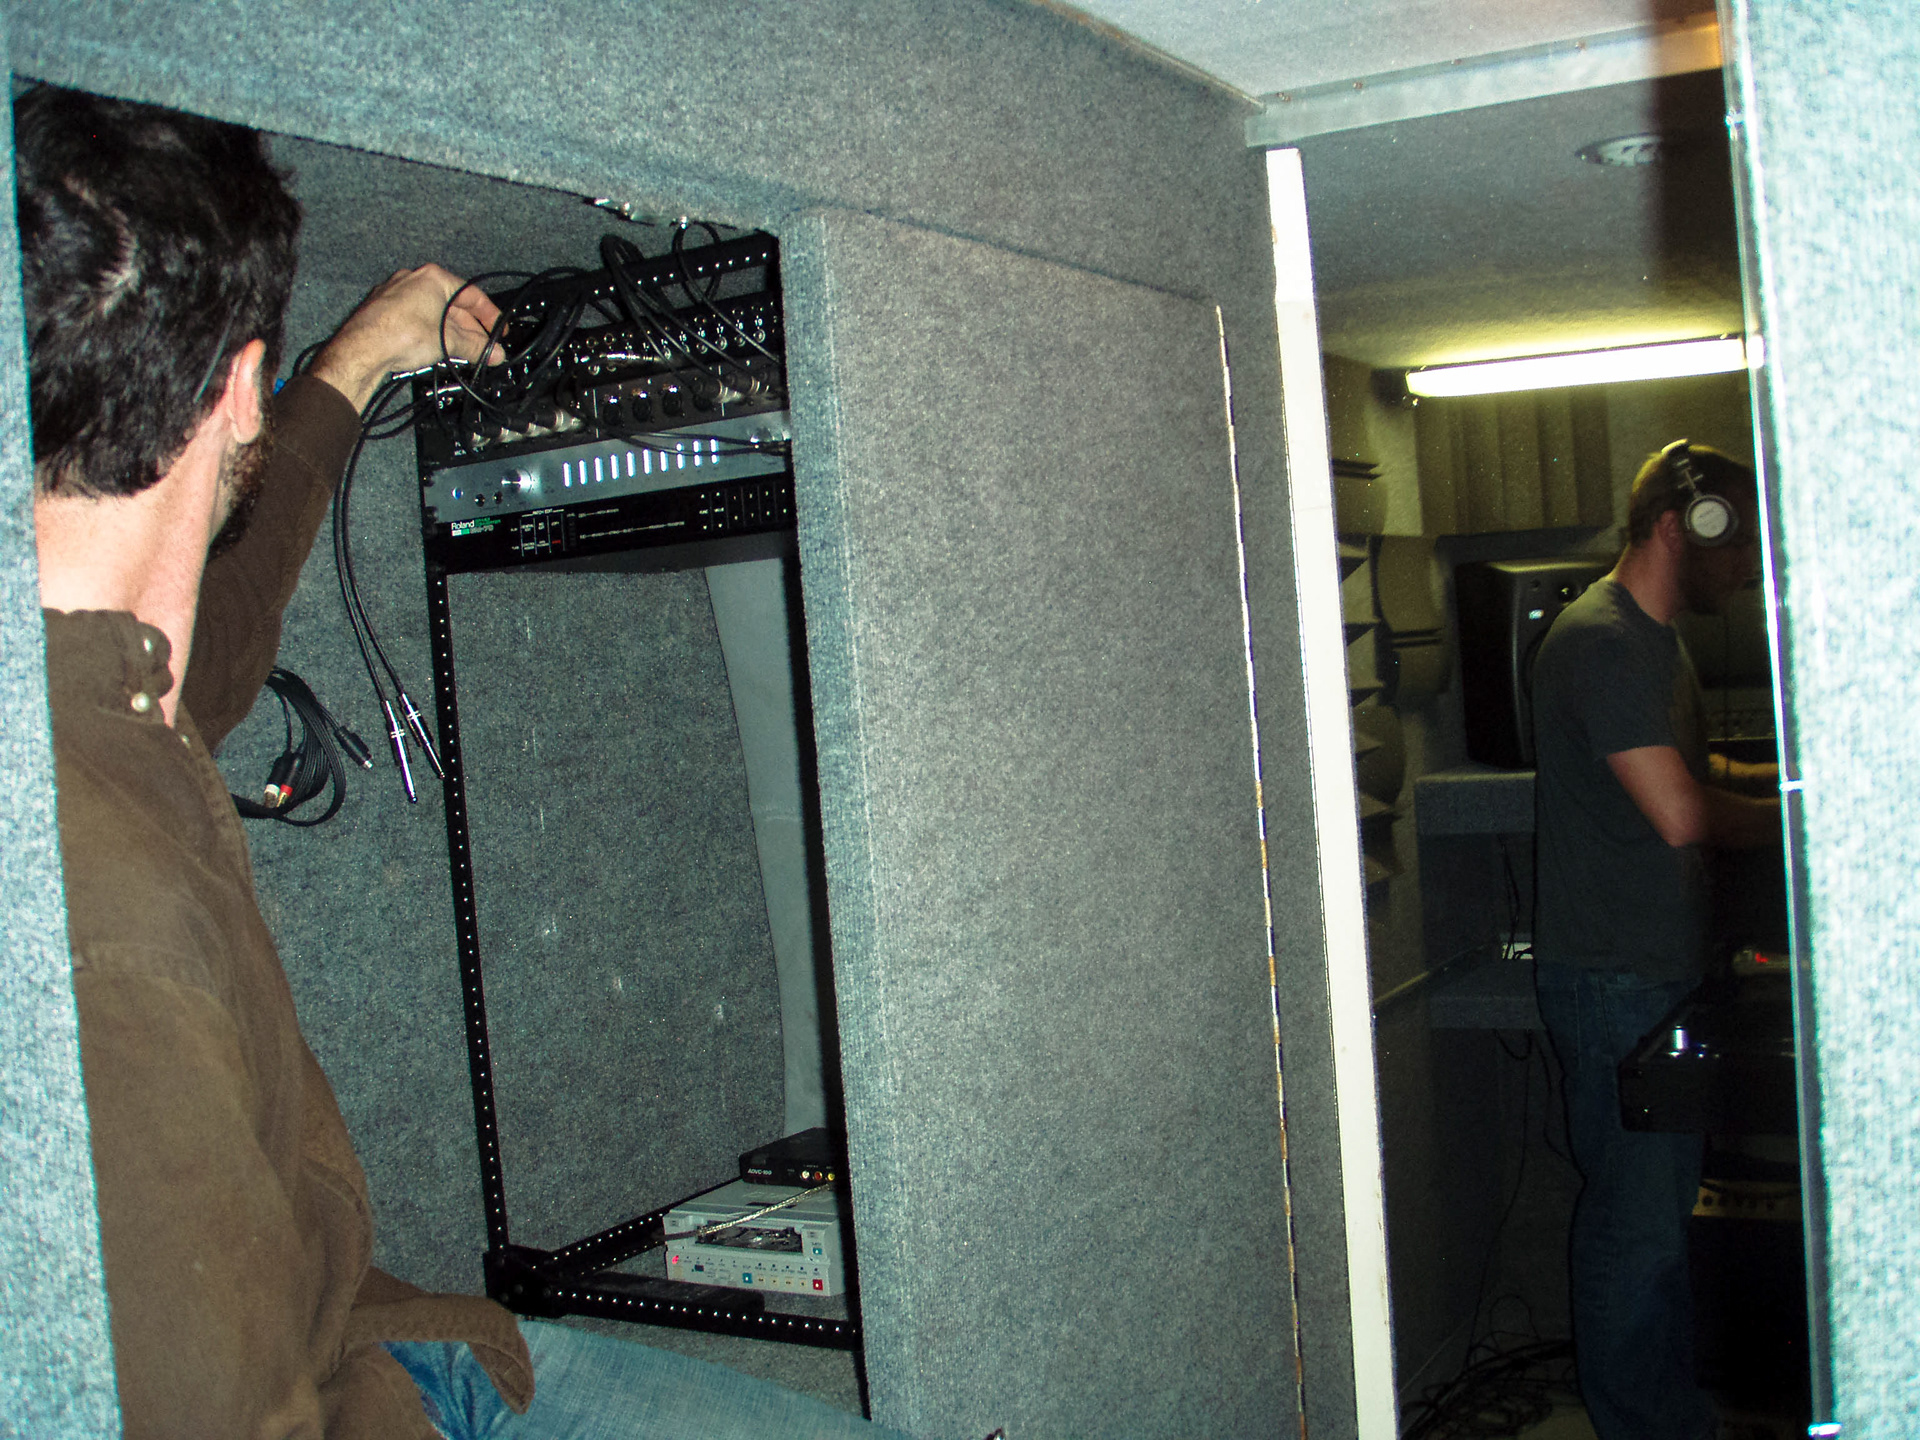
The nearly 1/2" thick aluminum plate walls of the large refridgerator compartment were carpeted like the rest of of the interior and then holes were cut through it to make room for a custom ventilation system (components seen below) that would pull cold air in and up through the 3 interior shelves which would house the computer equipment before exhausting hot air ait the top. This large metal compartment was carpeted on the inside as well with various vibration barriers so as to prevent fan noise from bleeding out so that it could house all of the computing and audio processing hardware as a functional compact machine room.
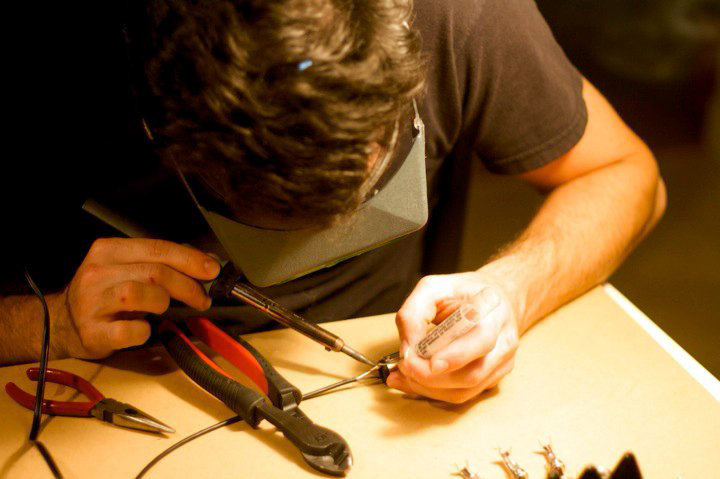
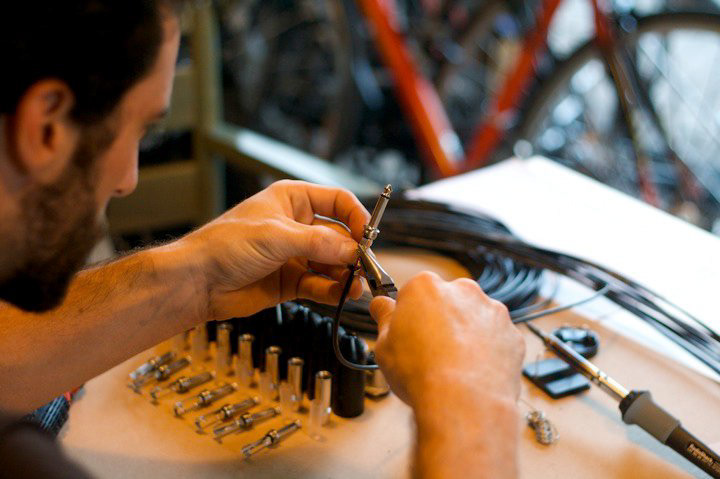
All of the integrated cabling between the patch bay and audio processors as well as all the in-wall pass-throughs were hand cut to length and soldered to their respective jacks and fittings.
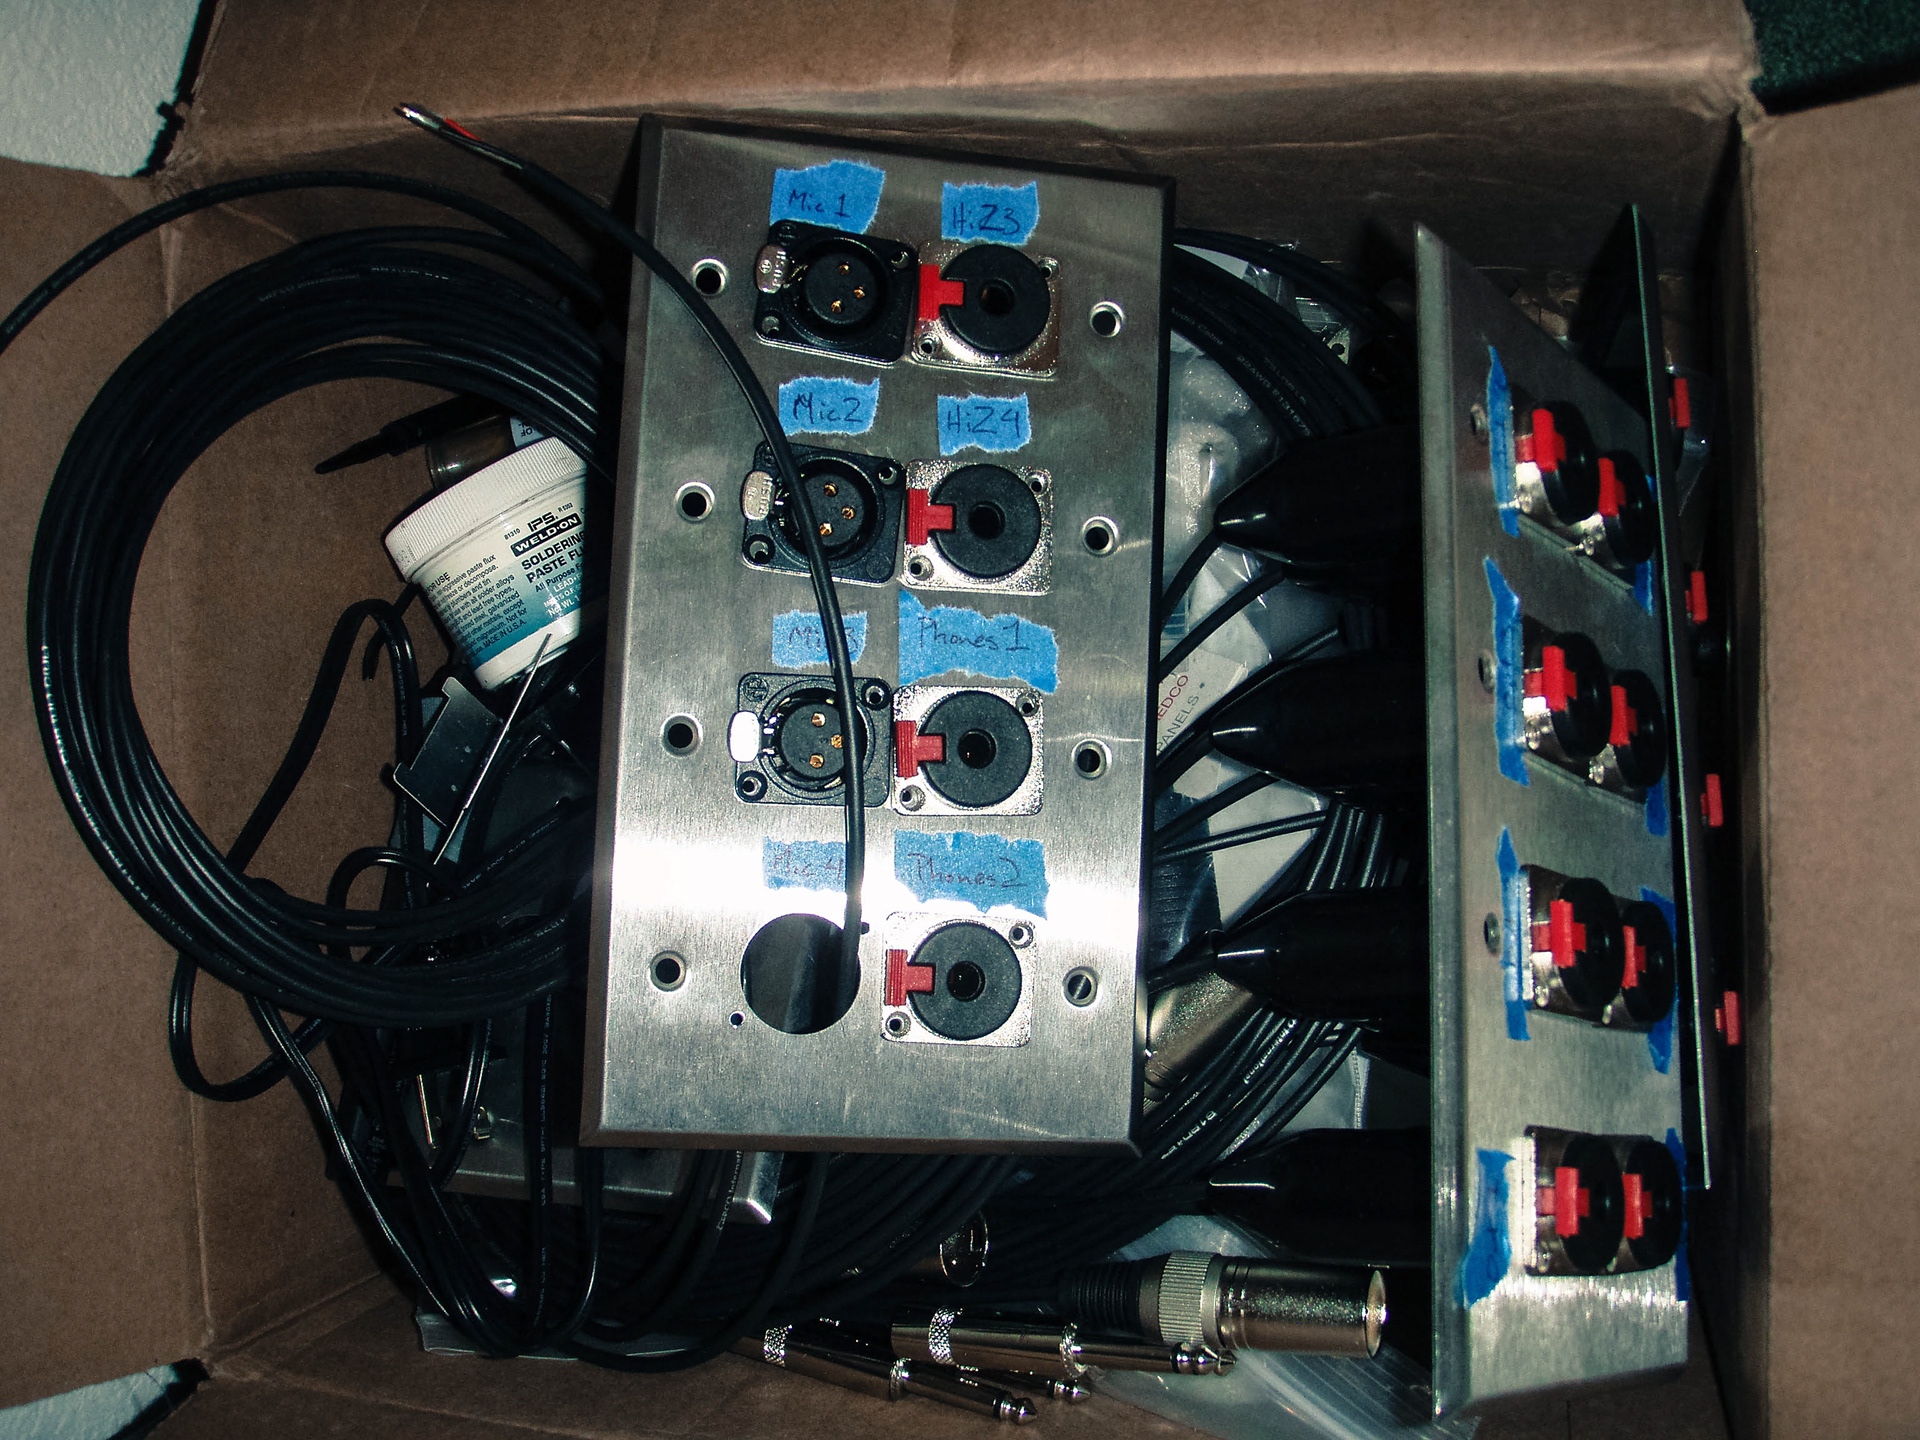
Custom configured plates sporting all necessary jacks to connect the machine room patch bay to any recording or playback hardware in the rear booth or front of house.

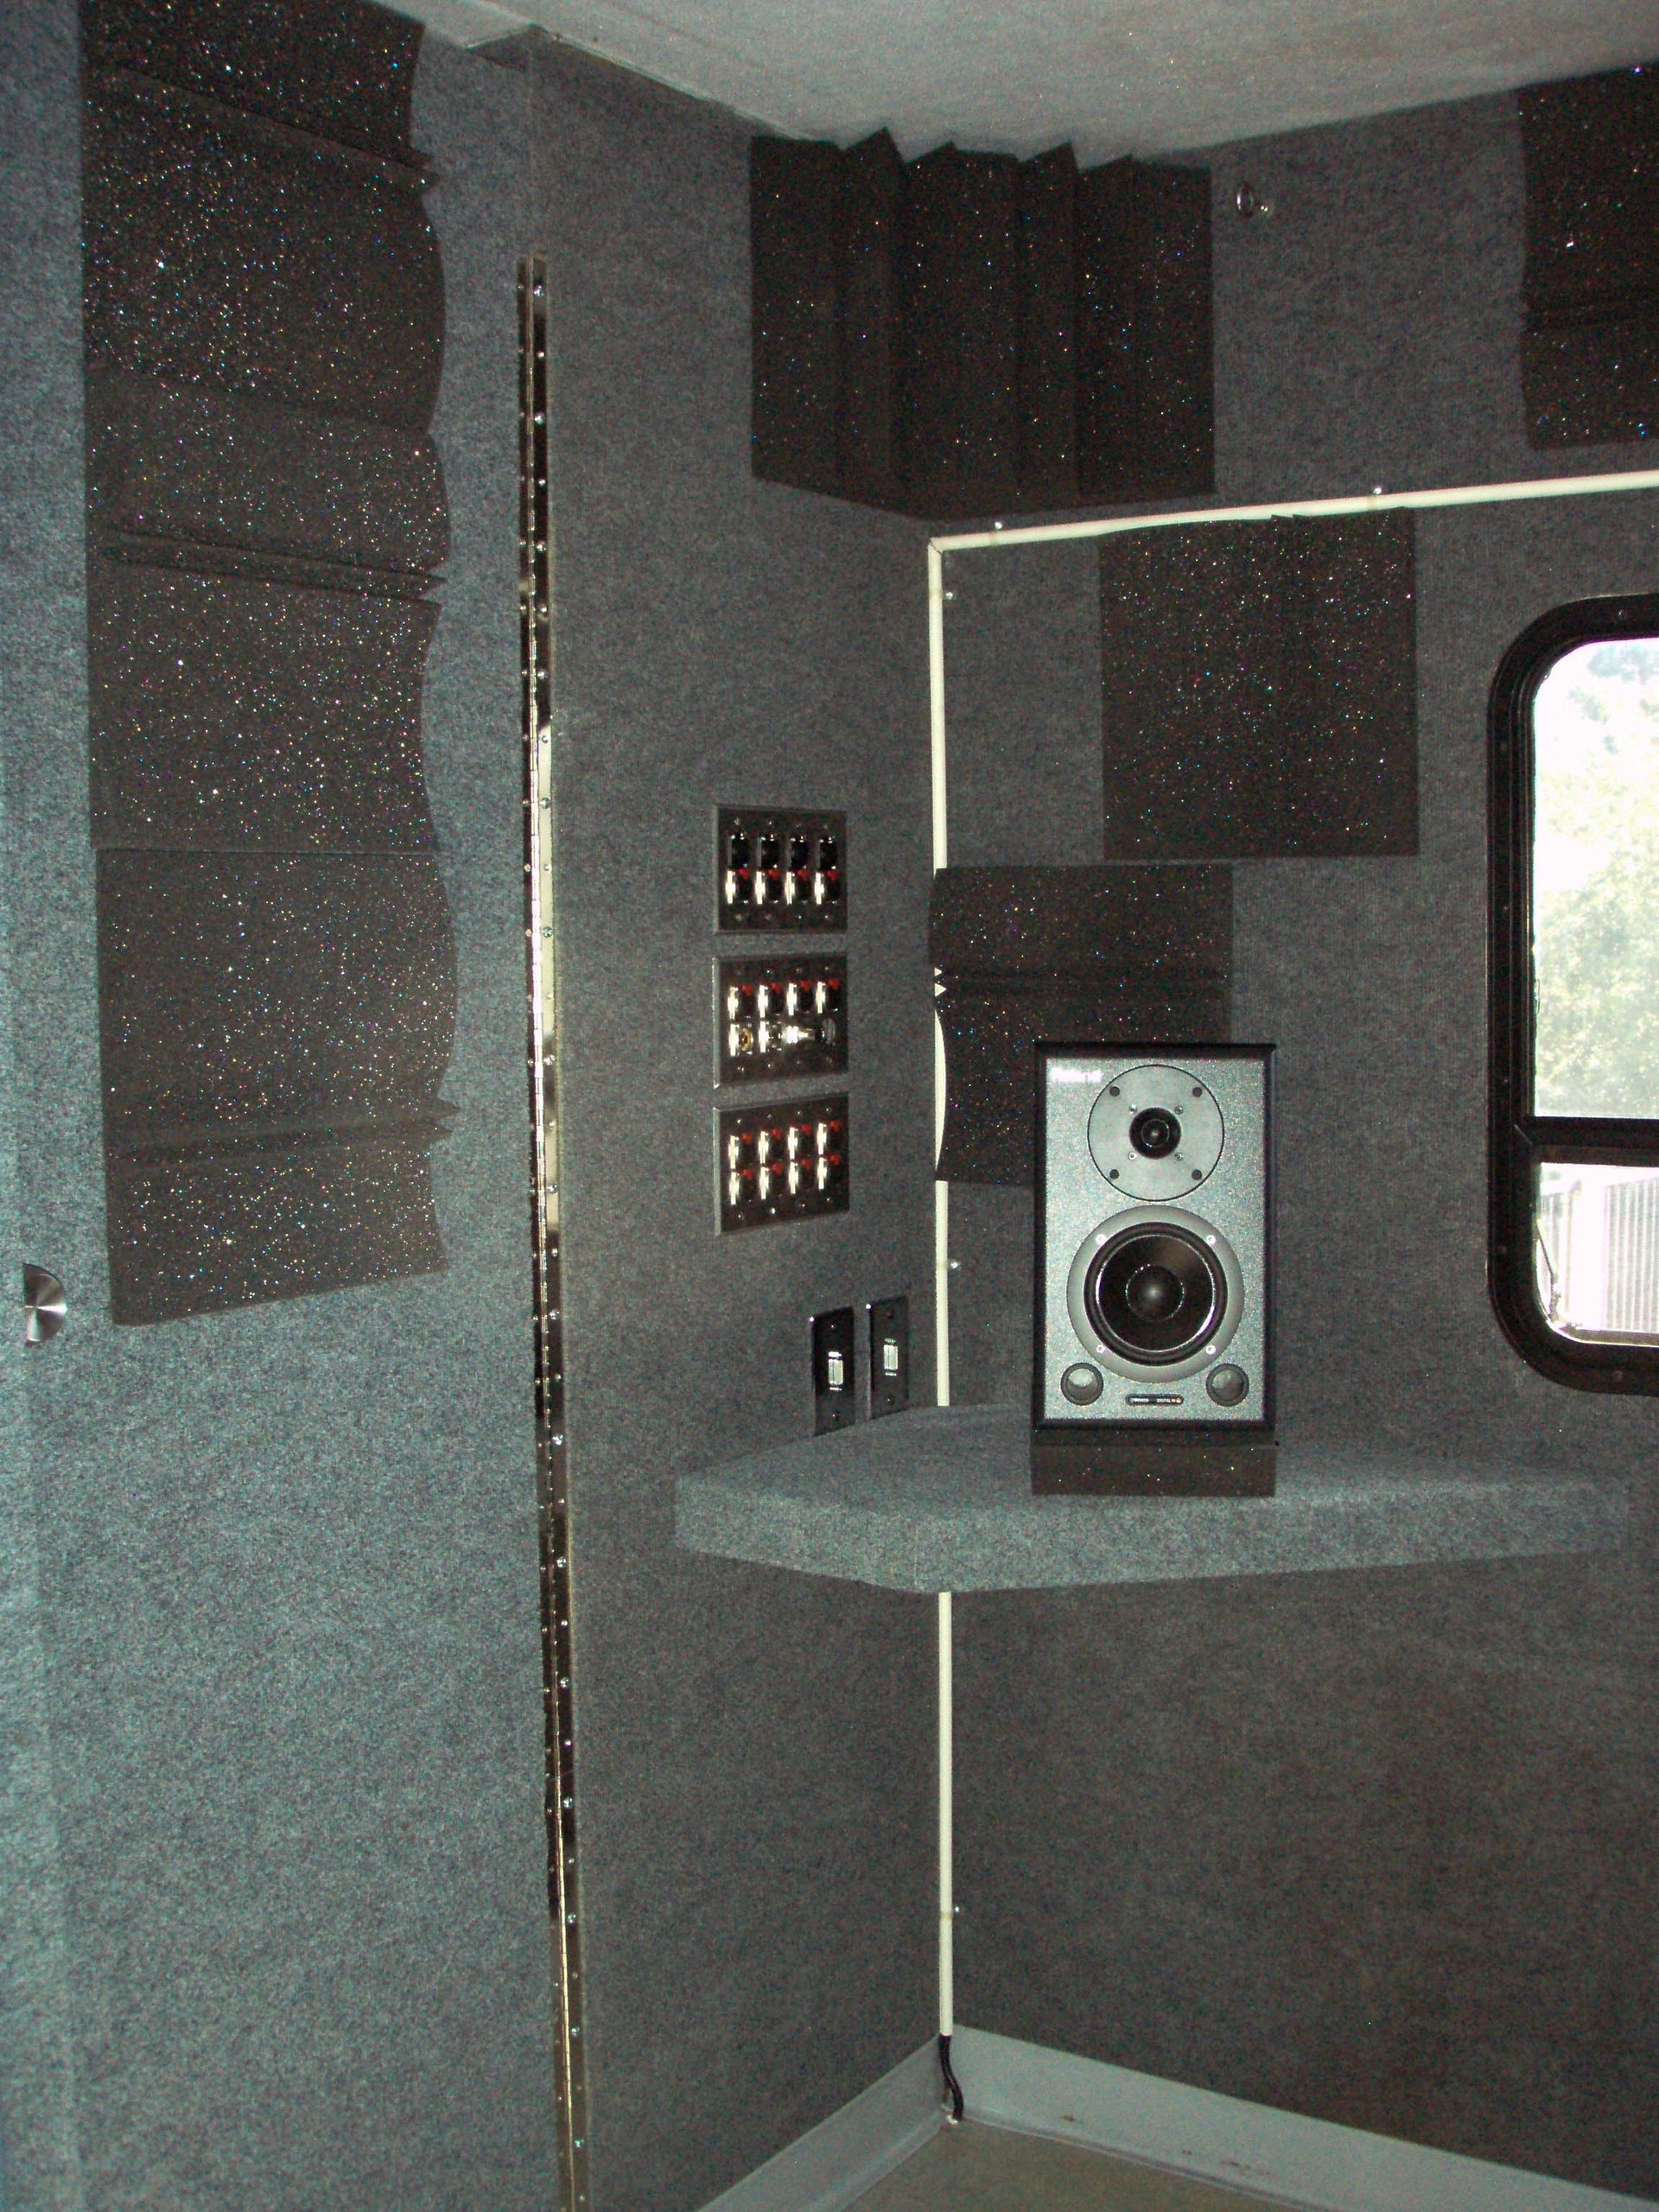
From inside the booth (above) you can see the custom hinged door that was installed to block off rear booth from any noise in the front of the house (and vice versa). To the right of it you can see the placement of the wall plates just above one of the floating platforms installed to support rear satelite speakers for surround monitoring.
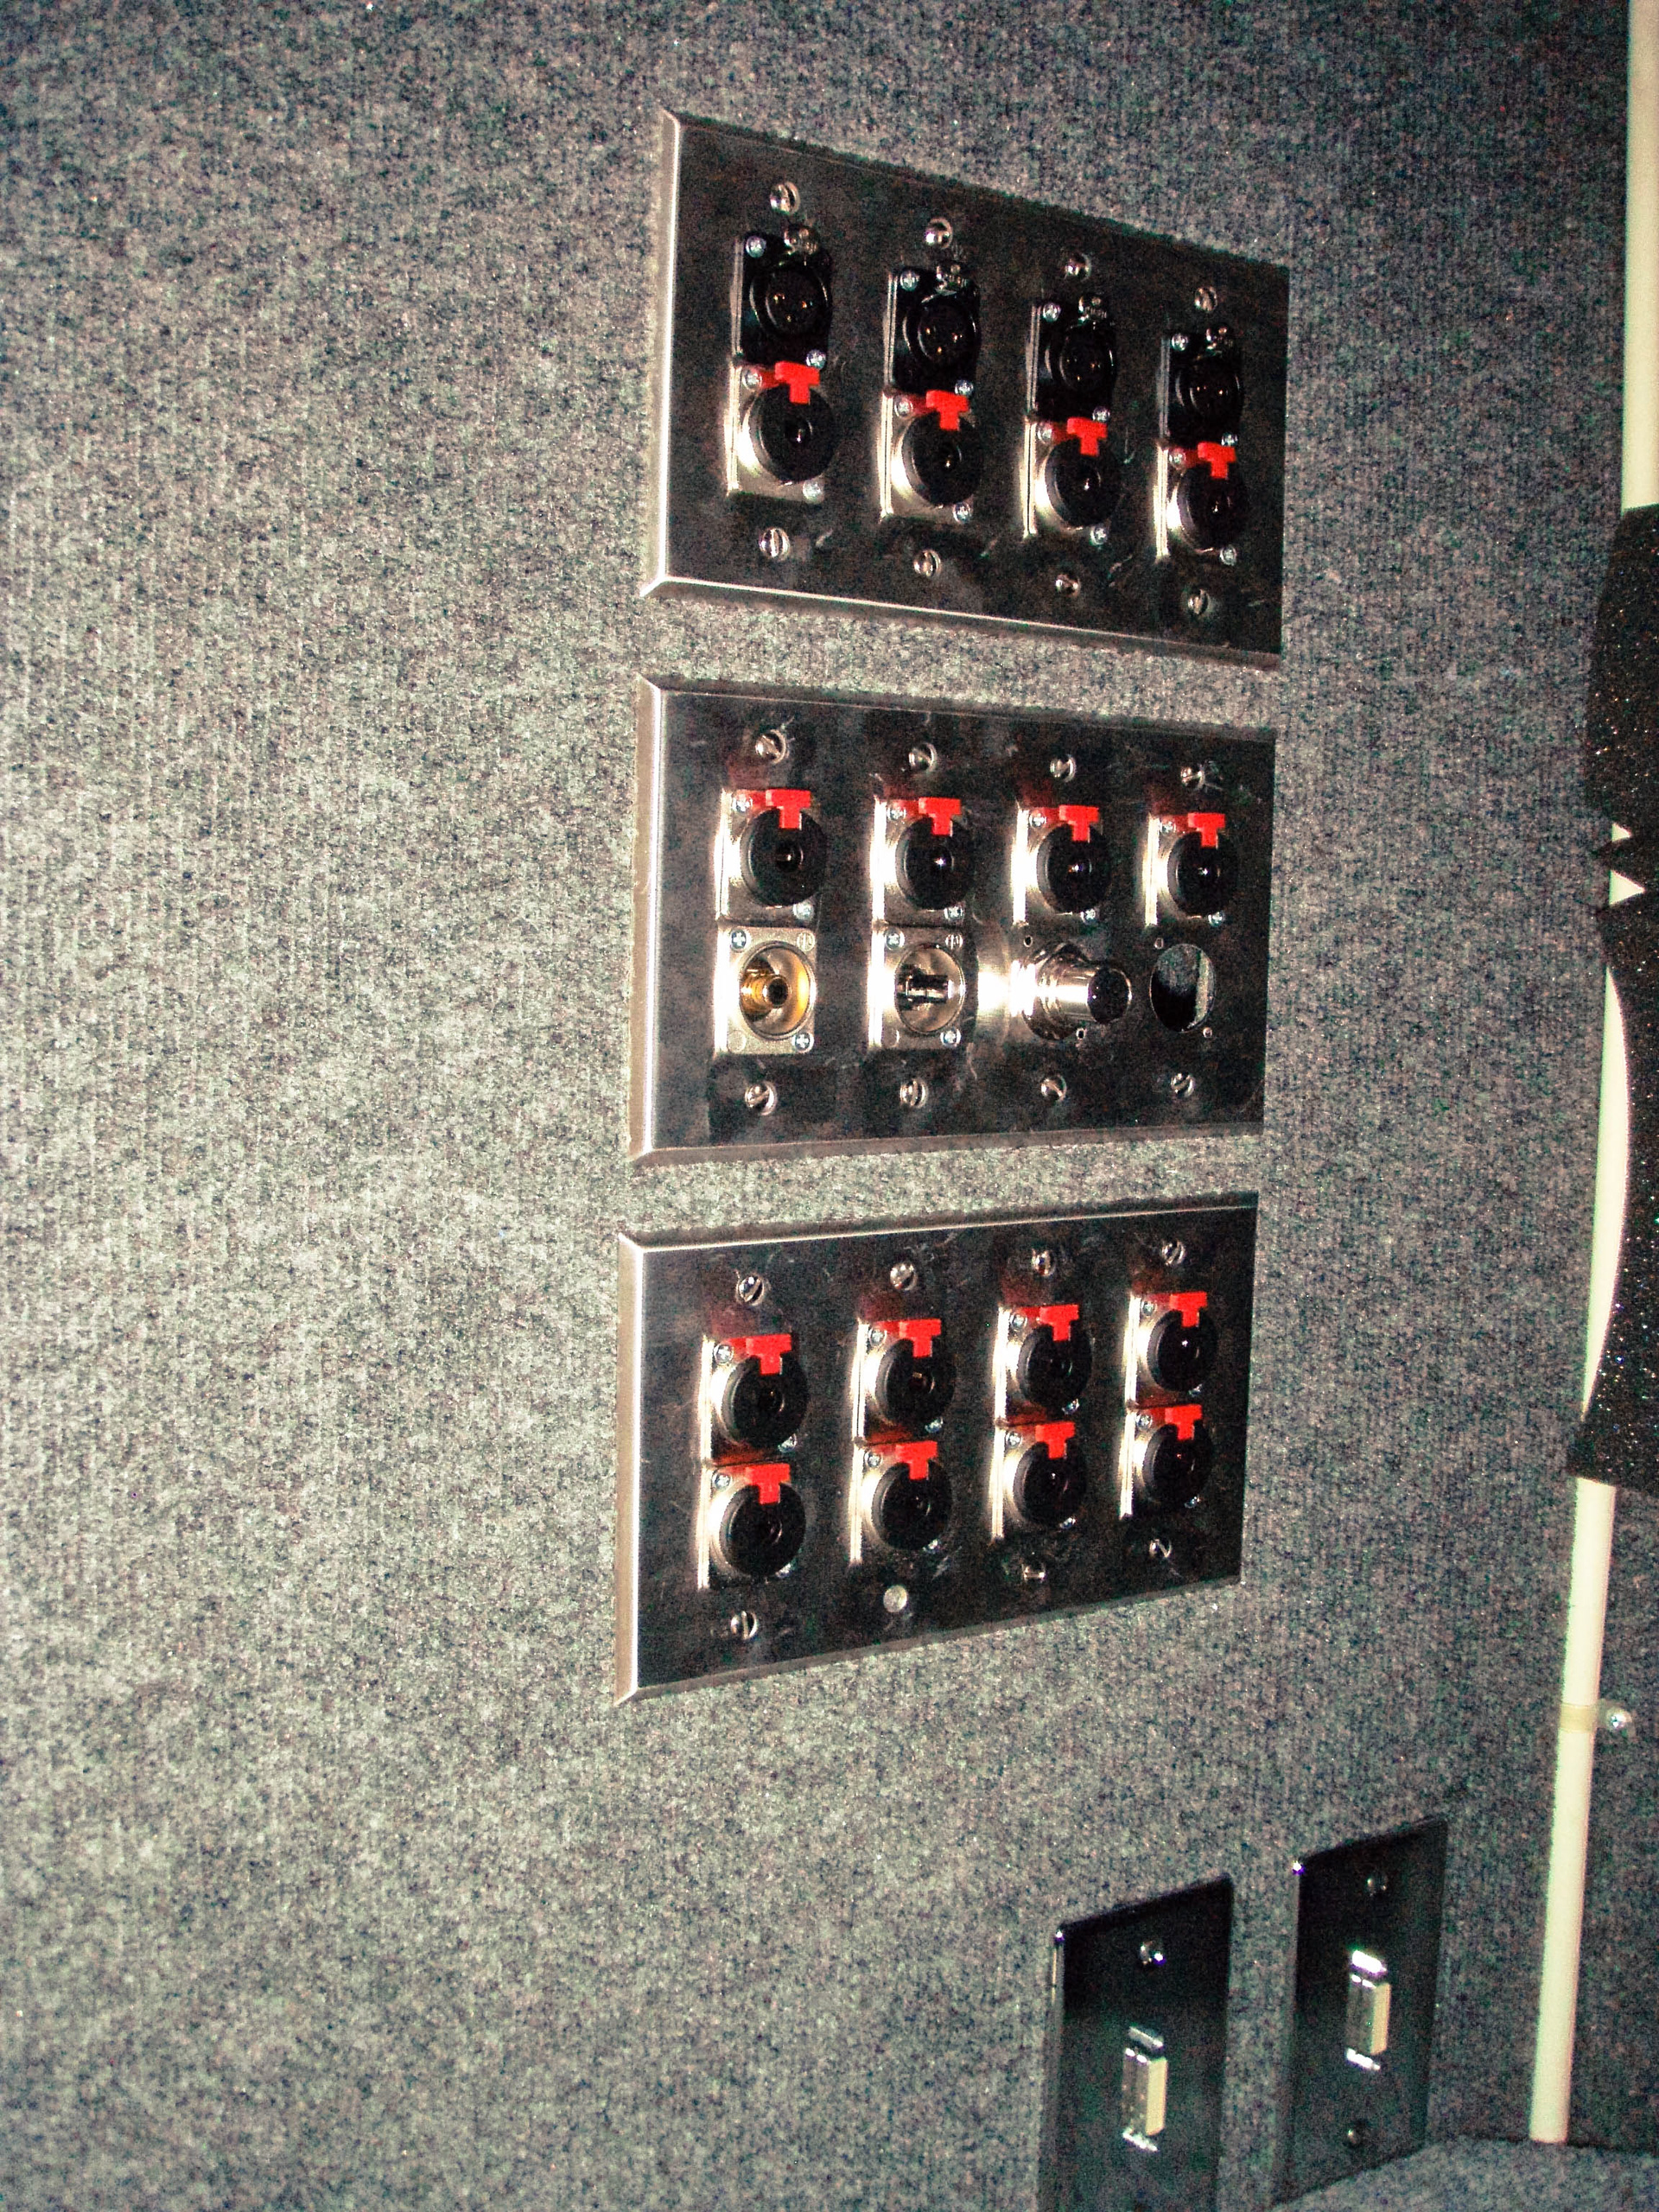
Above, you see a closer look at the variety of jacks installed in the wall plates. They include stereo and mono TRS connections, RCA SPDIF, USB, MIDI, DVI, and phantom powered XLR.
Below, you can see the backside of those plate connections routing into the machine room.
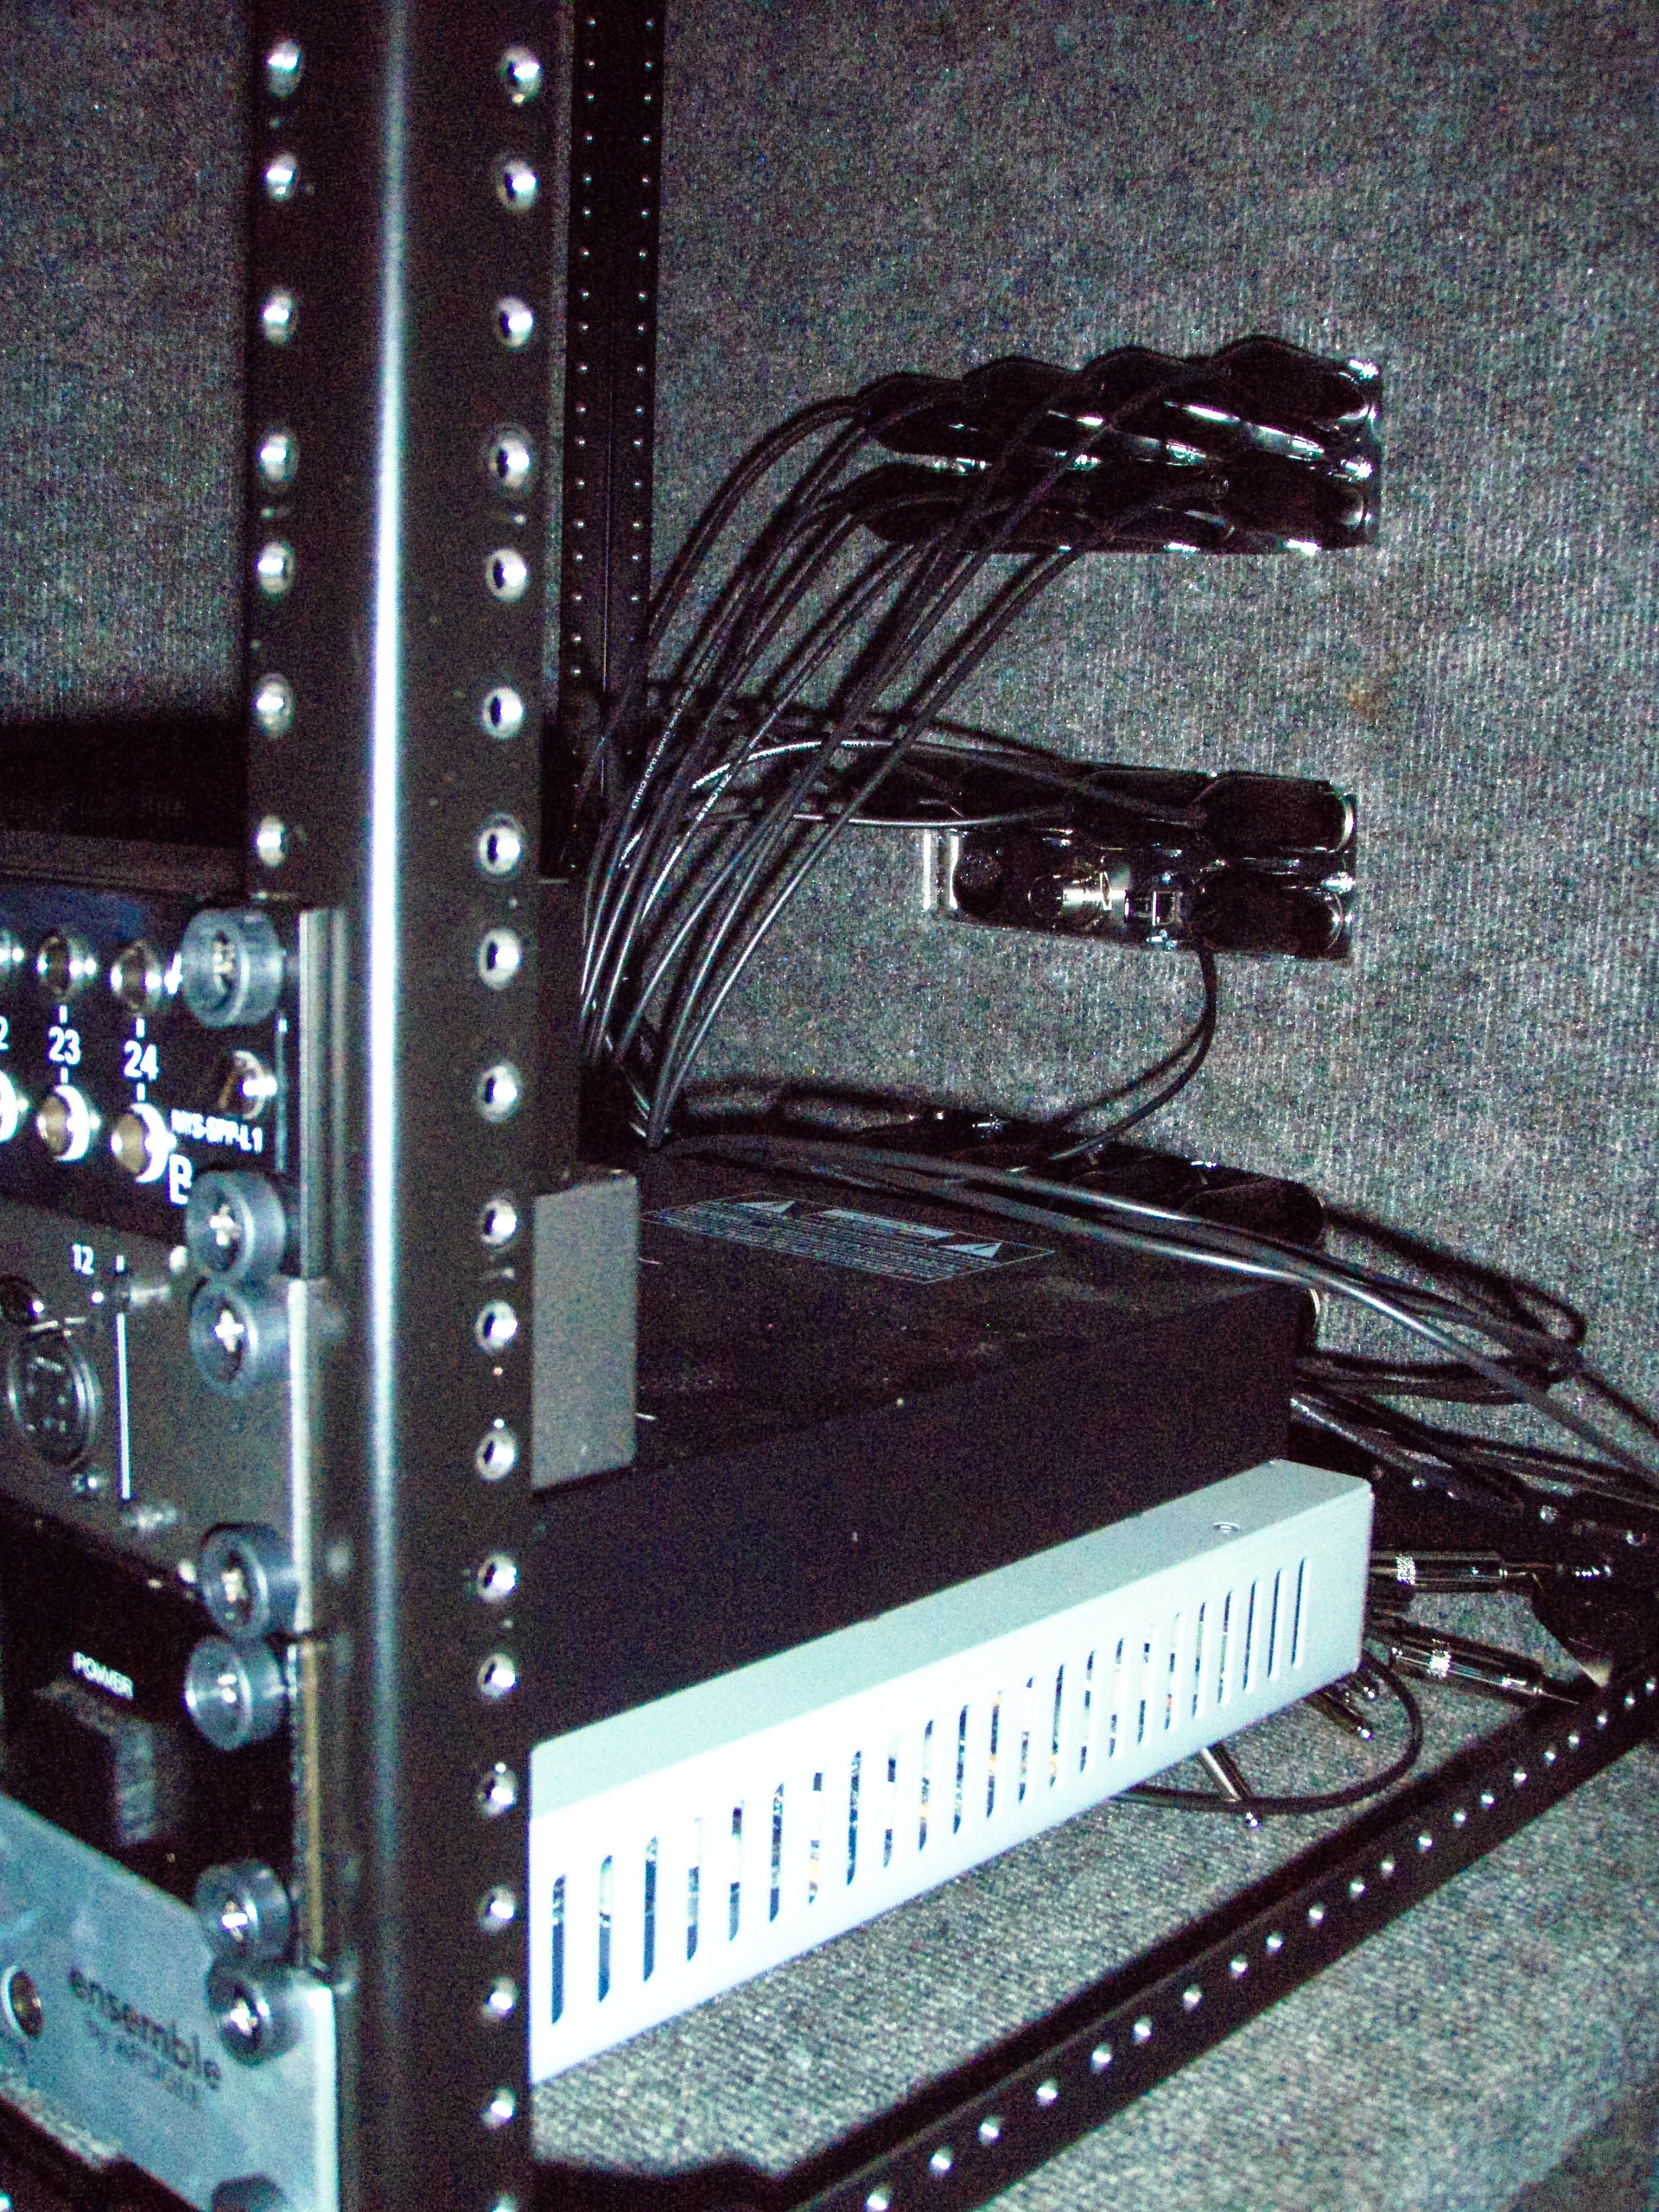
Here you see the patch bays in use, routing signals from the rear booth into the A/D converter.
Above and below, you can see the purpose of the carpeted walls. I adhered prickly velcro tabs to the back of all the acoustic foam blocks so that they could positioned and repositioned as needed. In this way I can optimize the acoustic characteristics of the booth for stereo mixing, surround mixing, or different recording scenarios. Below you can see that the window (pictured above) is fully covered by a velcro-backed, carpet covered damping panel which can also be covered (as seen) with acoustic foam blocks as needed. Similarly, the cupboard doors were also carpeted to allow placement of acoustic foam blocks.
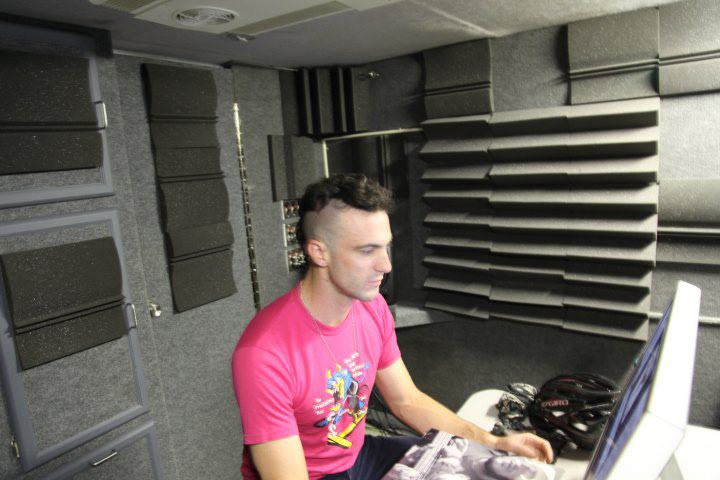
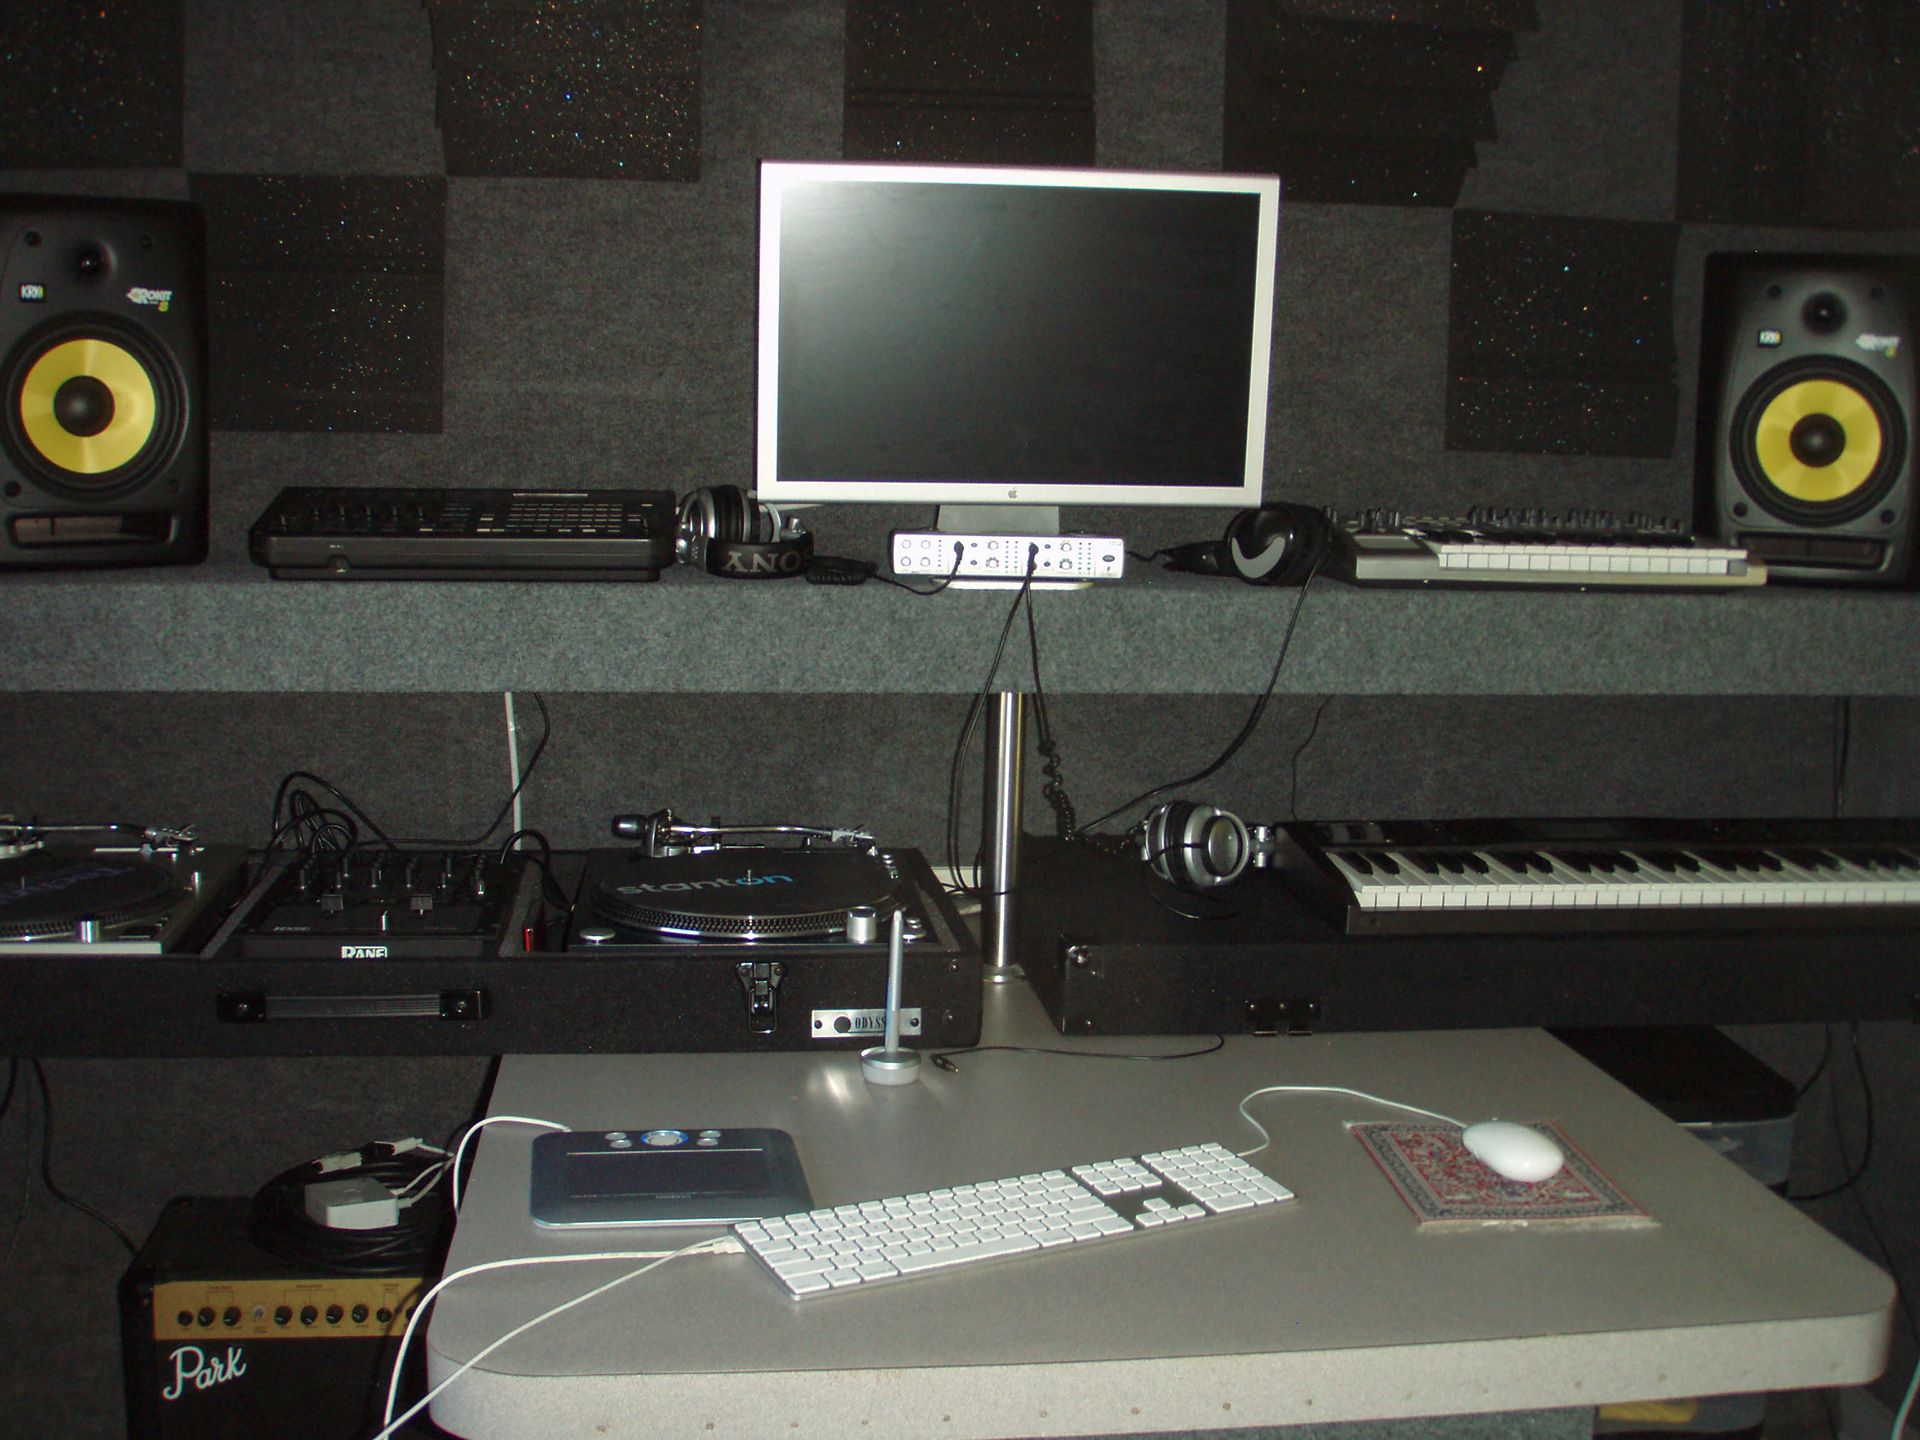
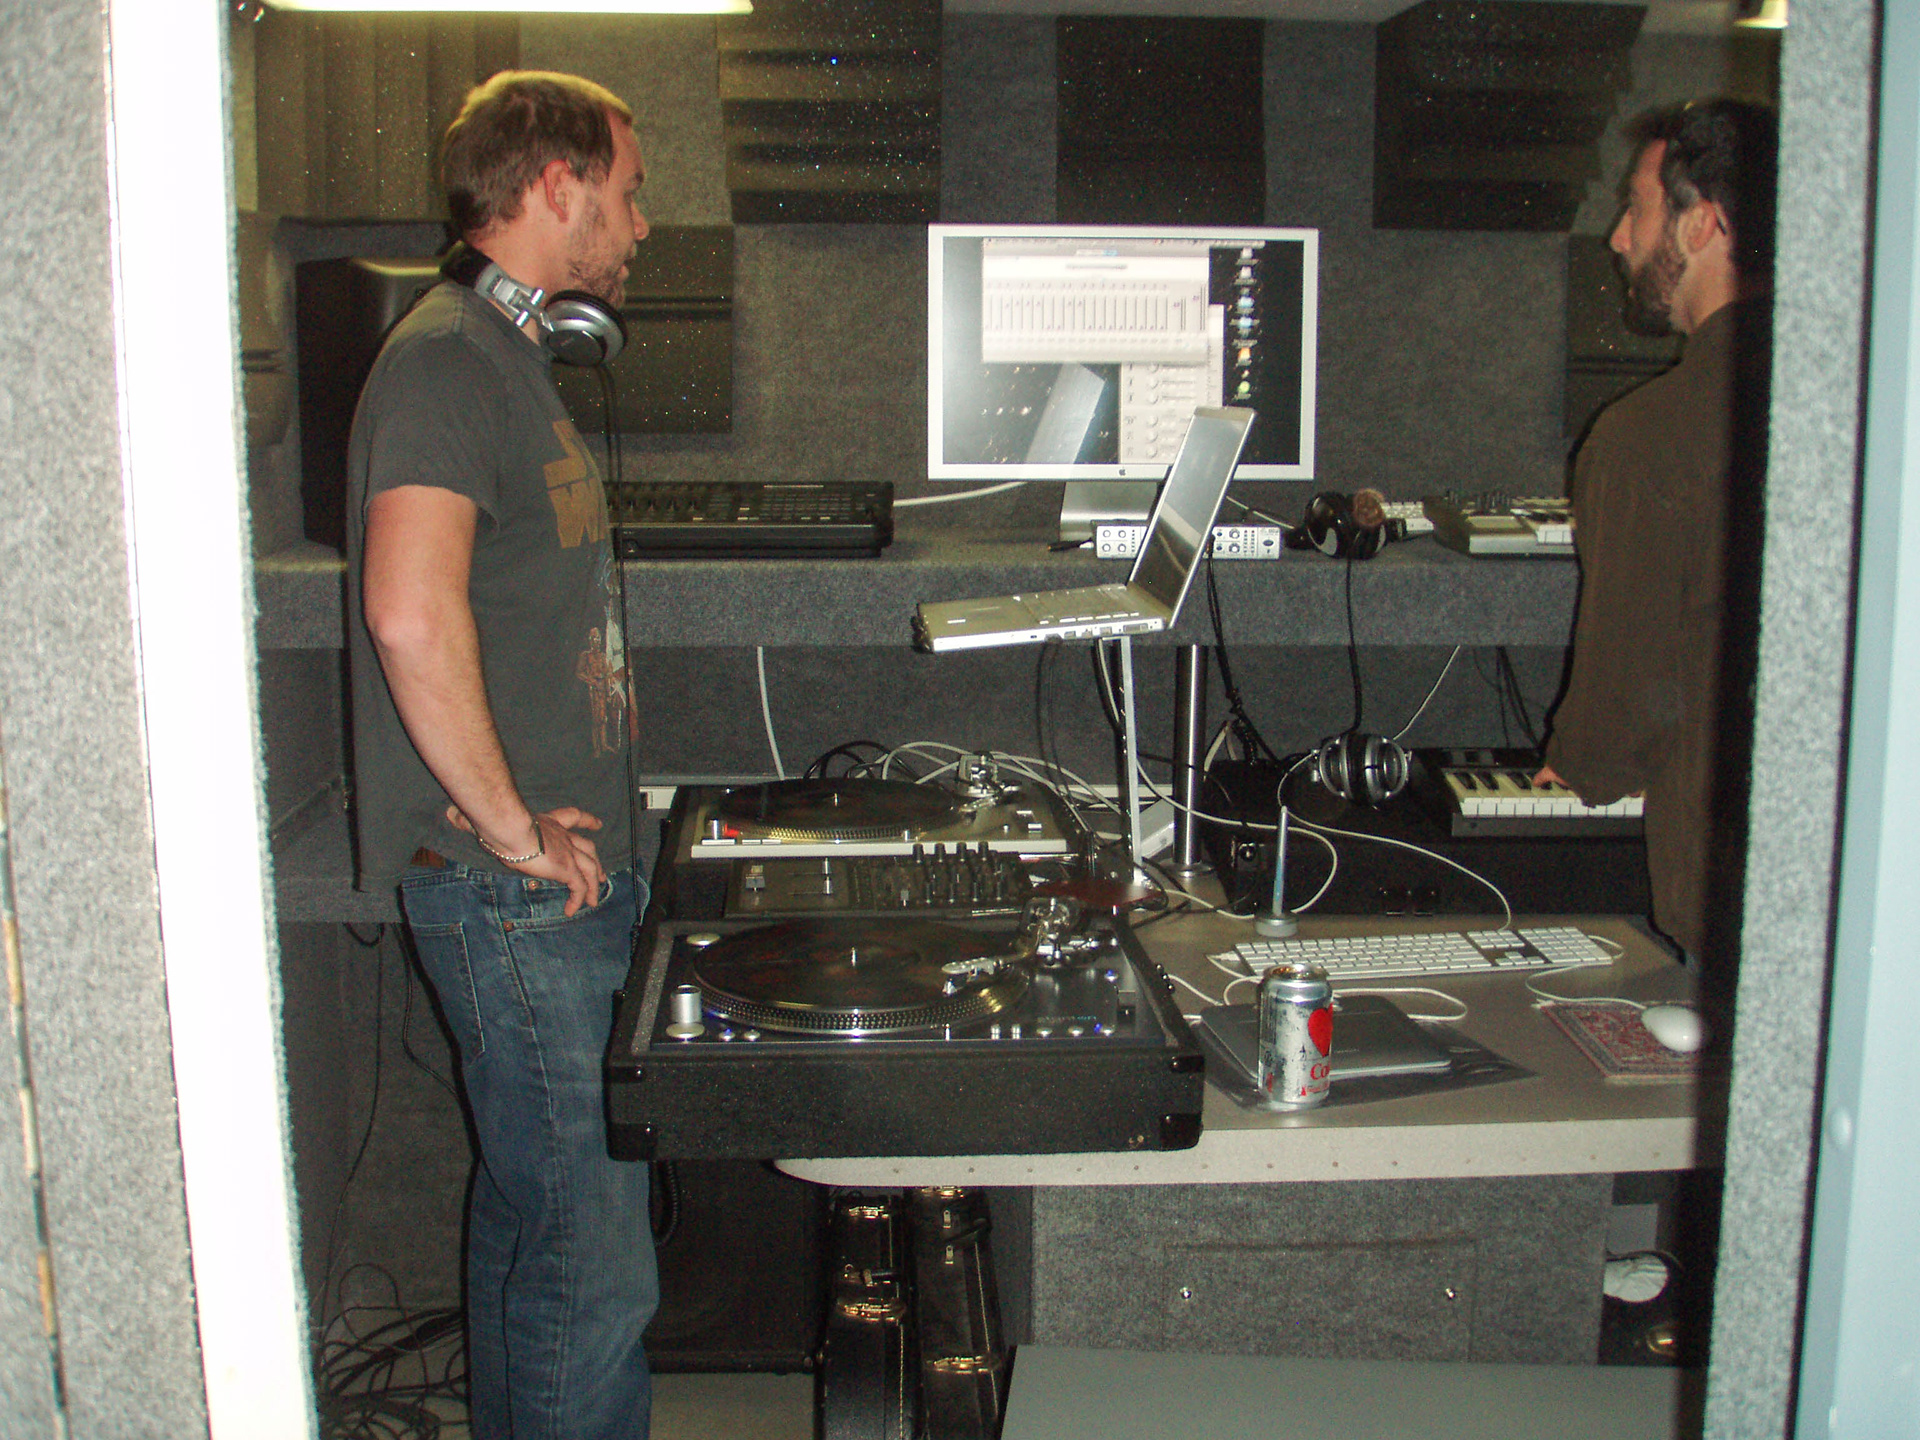
above is roughly the view when when seated at the workstation in the rear booth. This photo was taken during the setup process so the monitors are not in their final position and the center monitor is not present. Today the setup is a 5.1 surround mixing arrangement with the computer screen sitting on the lower desk, a guitar amp on the floor on one side, and a subwoofer on the floor on the other side.

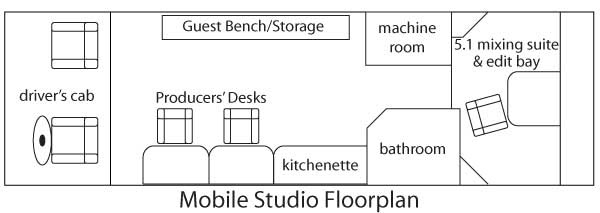
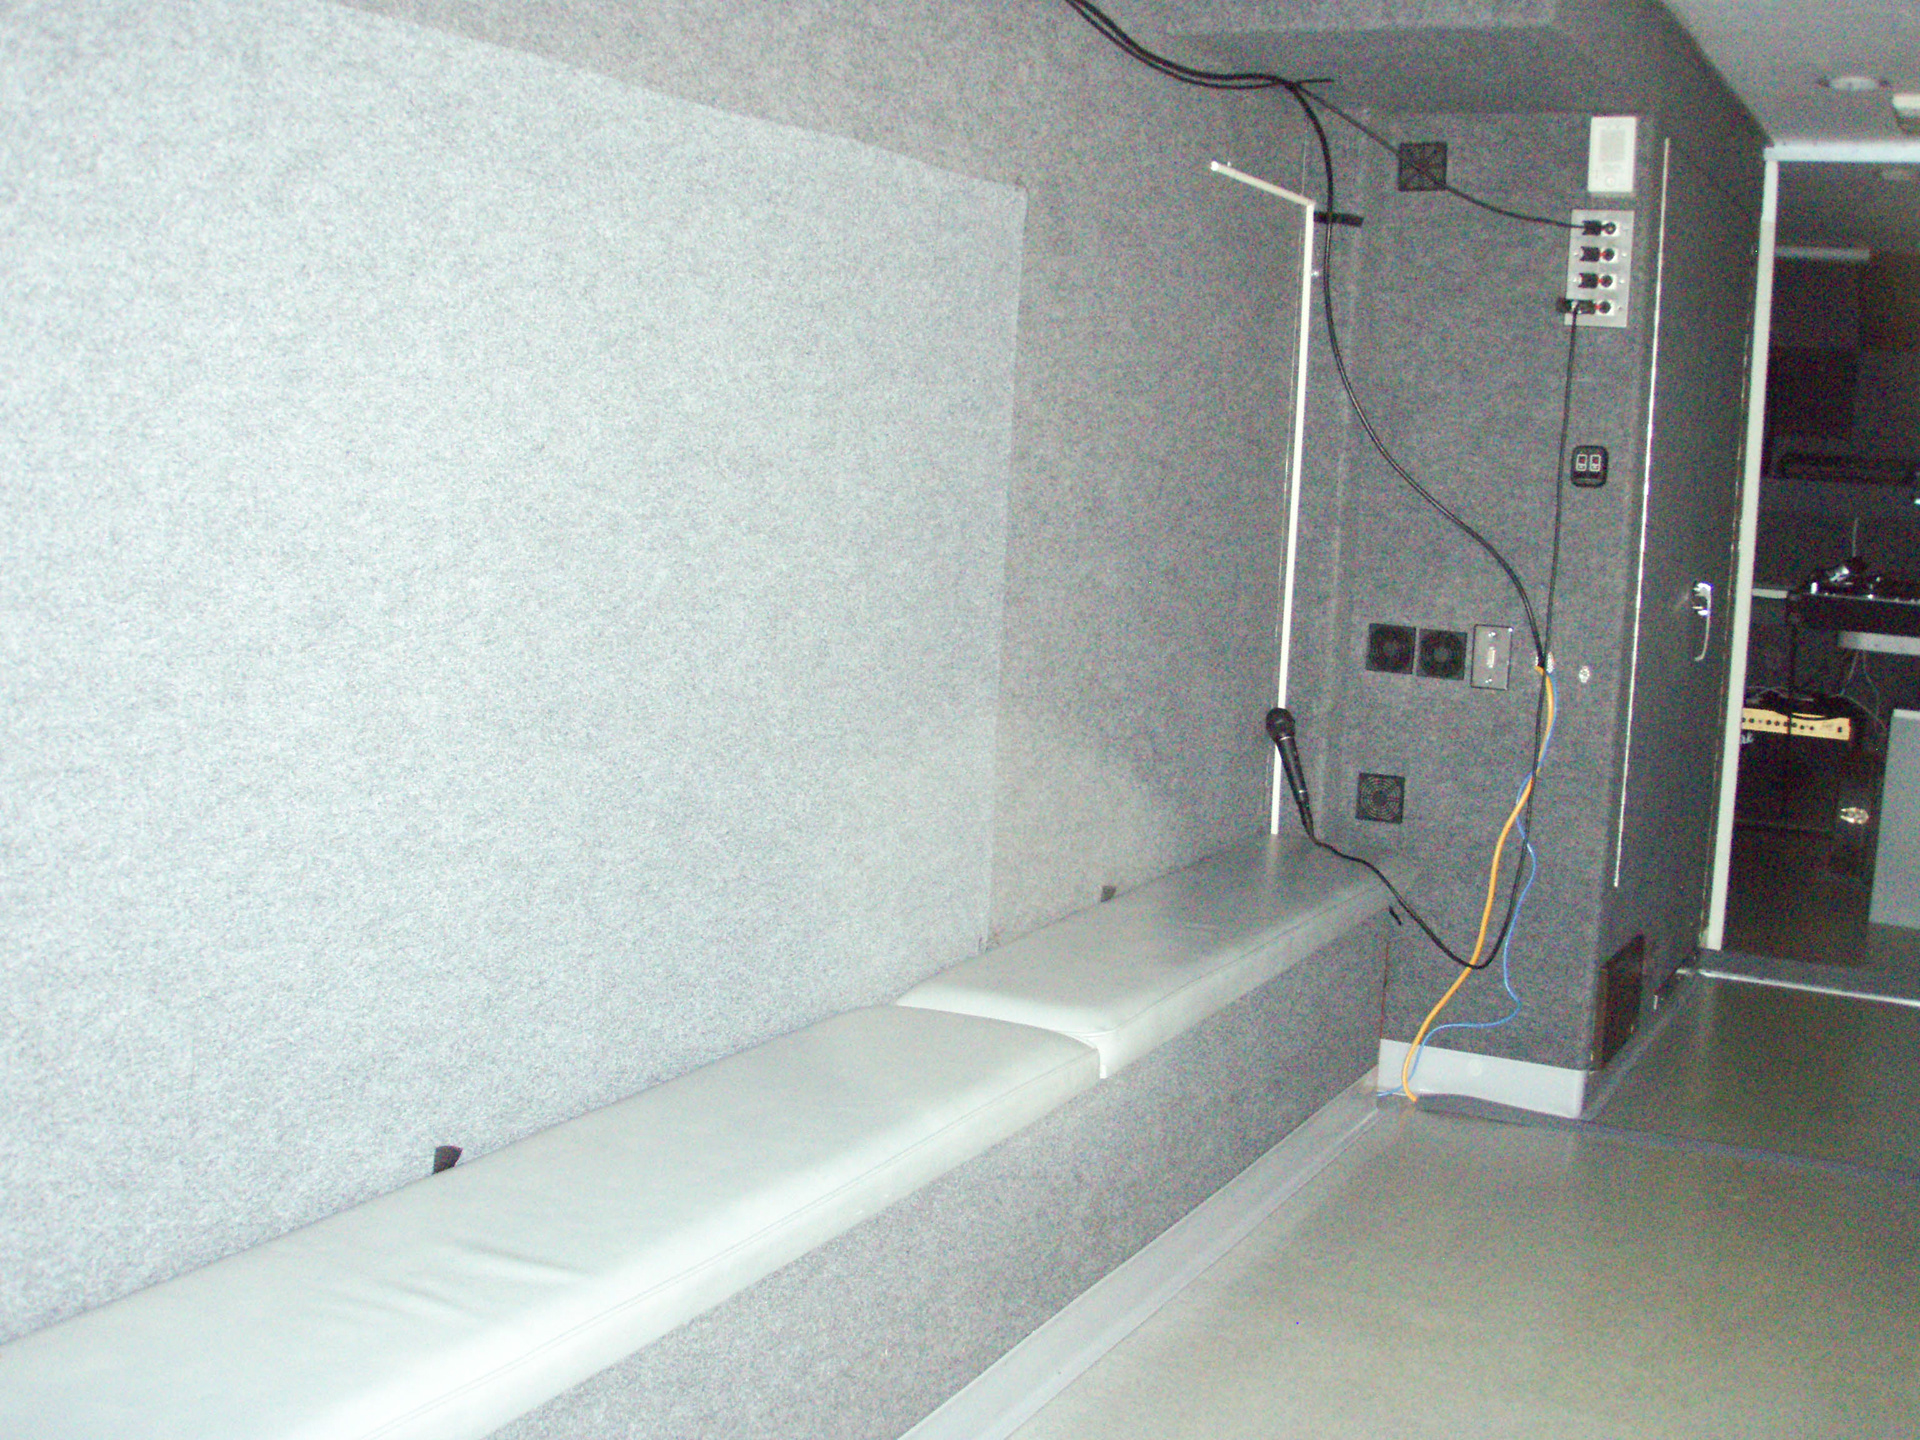
From the front of house looking back toward the booth. On the left you can see the guest bench (which also doubles as a storage area under the cushions) as well as some of the circulation fans and wall plate connectiing headphone monitors and a microphone to the machine room. On the right, you can see the kitchenette with microwave on top and pantry below the counter top (the mini fridge is behind the driver's seat to the right of the photographer POV). The desk space adjacent to this counter top folds away into the wall so it can be easily stowed out of the way in order to make room for a full drum kit (or extra large video gear).
As you can see here, the windows in the front of the house also have carpeted velcro covers that block out light and allow for placement of velcro-backed acoustic foam blocks in the event that the front of house area needed to be used for recording a small band or a large instrument like a drum set.