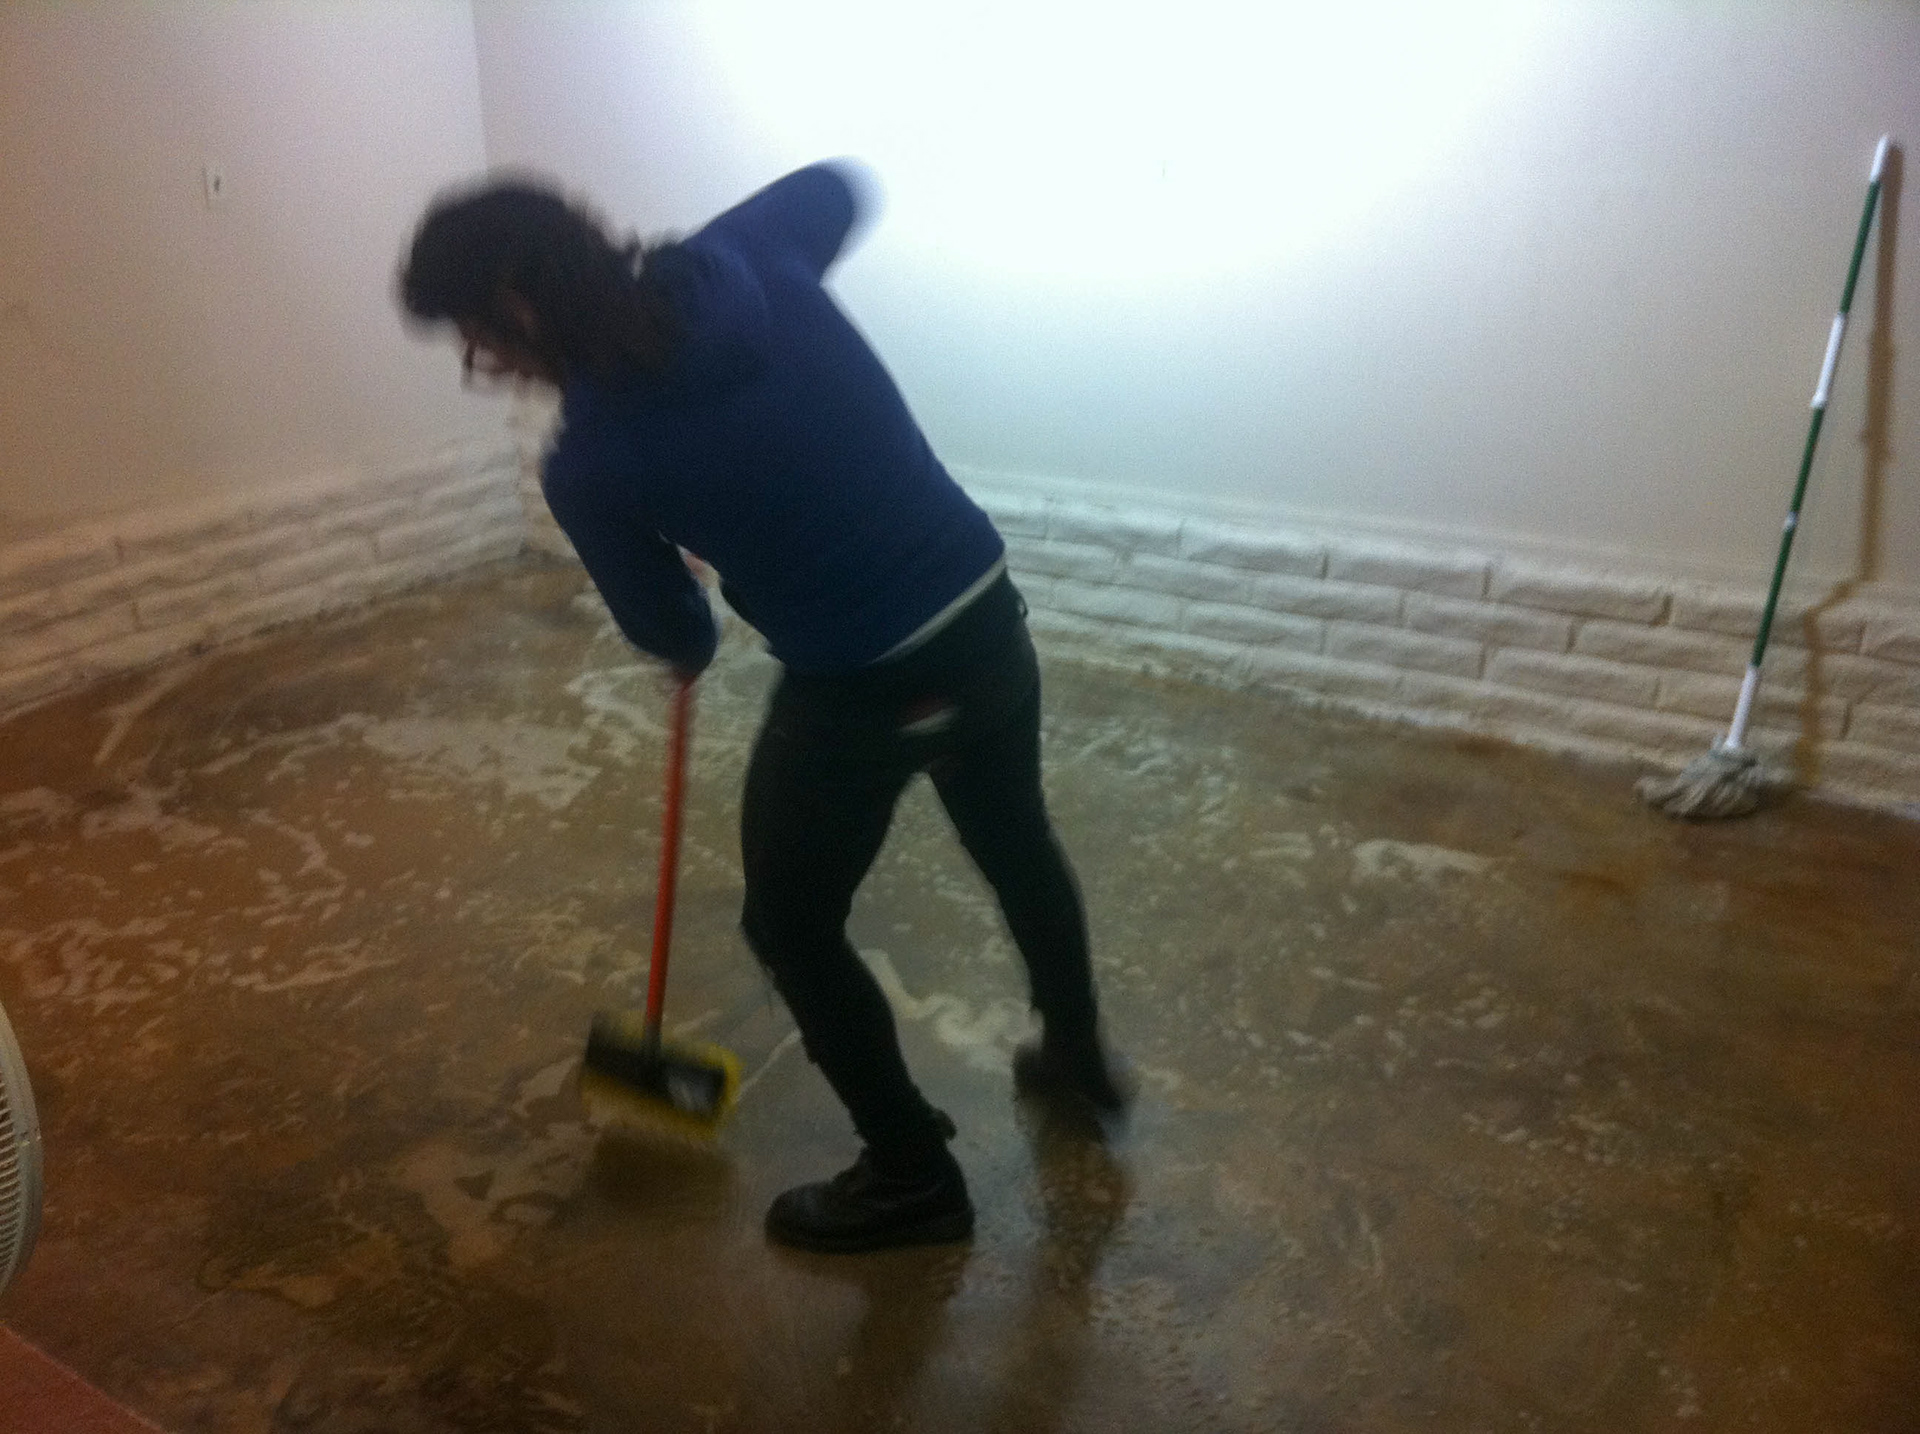
The first order of business was the take out the carpet in the garage area where we would be building the corner cyclorama so that we could blend the curves directly into the concrete surface. Since the concrete floor had been covered repeatedly with various materials over many years, there was a thickly textured layer of dried adhesives (and what-not) covering it. Knowing that those textures would show through a coat of paint, I opted to clean the surface with an acid based solution which basically etched down to a smooth, porous surface, ready to take a fresh coat of primer.

Since the space where I would be building the cyclorama was so small, subjects would have to stand closer to the walls than usual so I decided to build parabolic curves to spare some floor space and to make lighting an easier task, giving the illusion of a much large cyc curve. I measured the brick and wood base protruding at the bottom of the walls and created a rib template (above) that would allow enough room to make cutouts around those protrusions. This was also a preferable solution to the alternative of building a sub-wall that would cover the protruding base because that would further reduce the available floor space.
Since each brick and wood protrusion at the base would be slightly different, I first cut out the parabolic rib shapes and arranged them so that I could measure to make those cuts accurately.

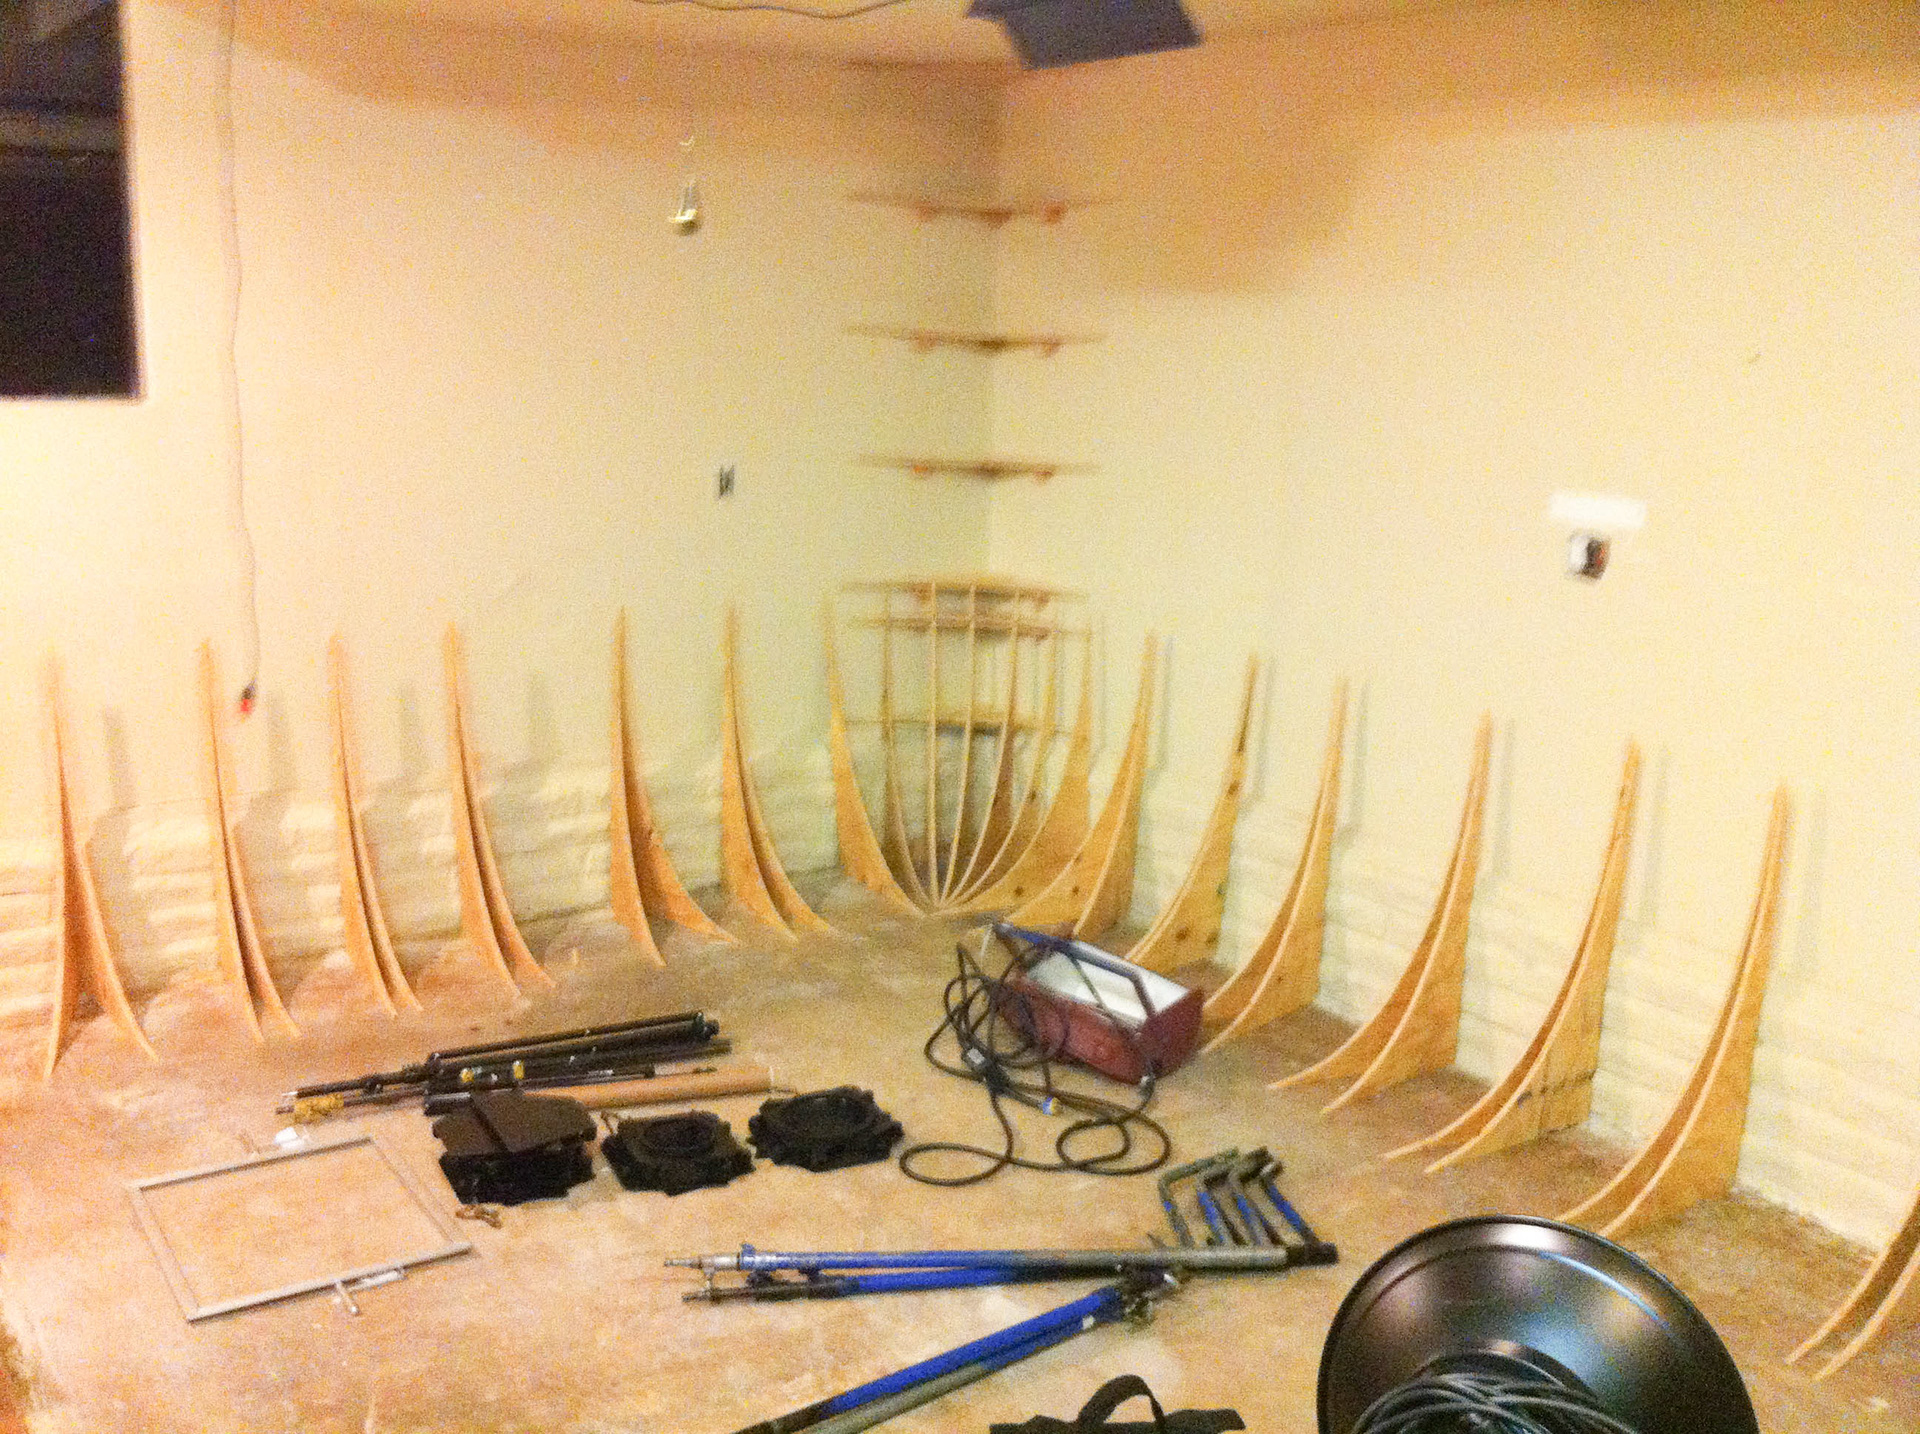
Above you can see the ribs neatly traversing around the protruding base as well as slotting over a stud that I bolted to the floor in order to provide a stable track to screw the ribs to which would keep them snugly fitted to the surface of the concrete floor. Also, note that the corner where the walls meet has symmetrical ribs that will support a vertical curve joining the 2 walls and blending into the parabolic dome shape a the bottom.

The ribs were covered with a single sheet of 1/4" sheetrock. The scraps of wood along the top (and sides) of the sheets of drywall maintain a straight line while a board under the knees at the base holds the sheetrock in place along the curve while it is screwed into the ribs. Once it has been mounted to the ribs, the extra pieces of wood can be removed (as seen below).

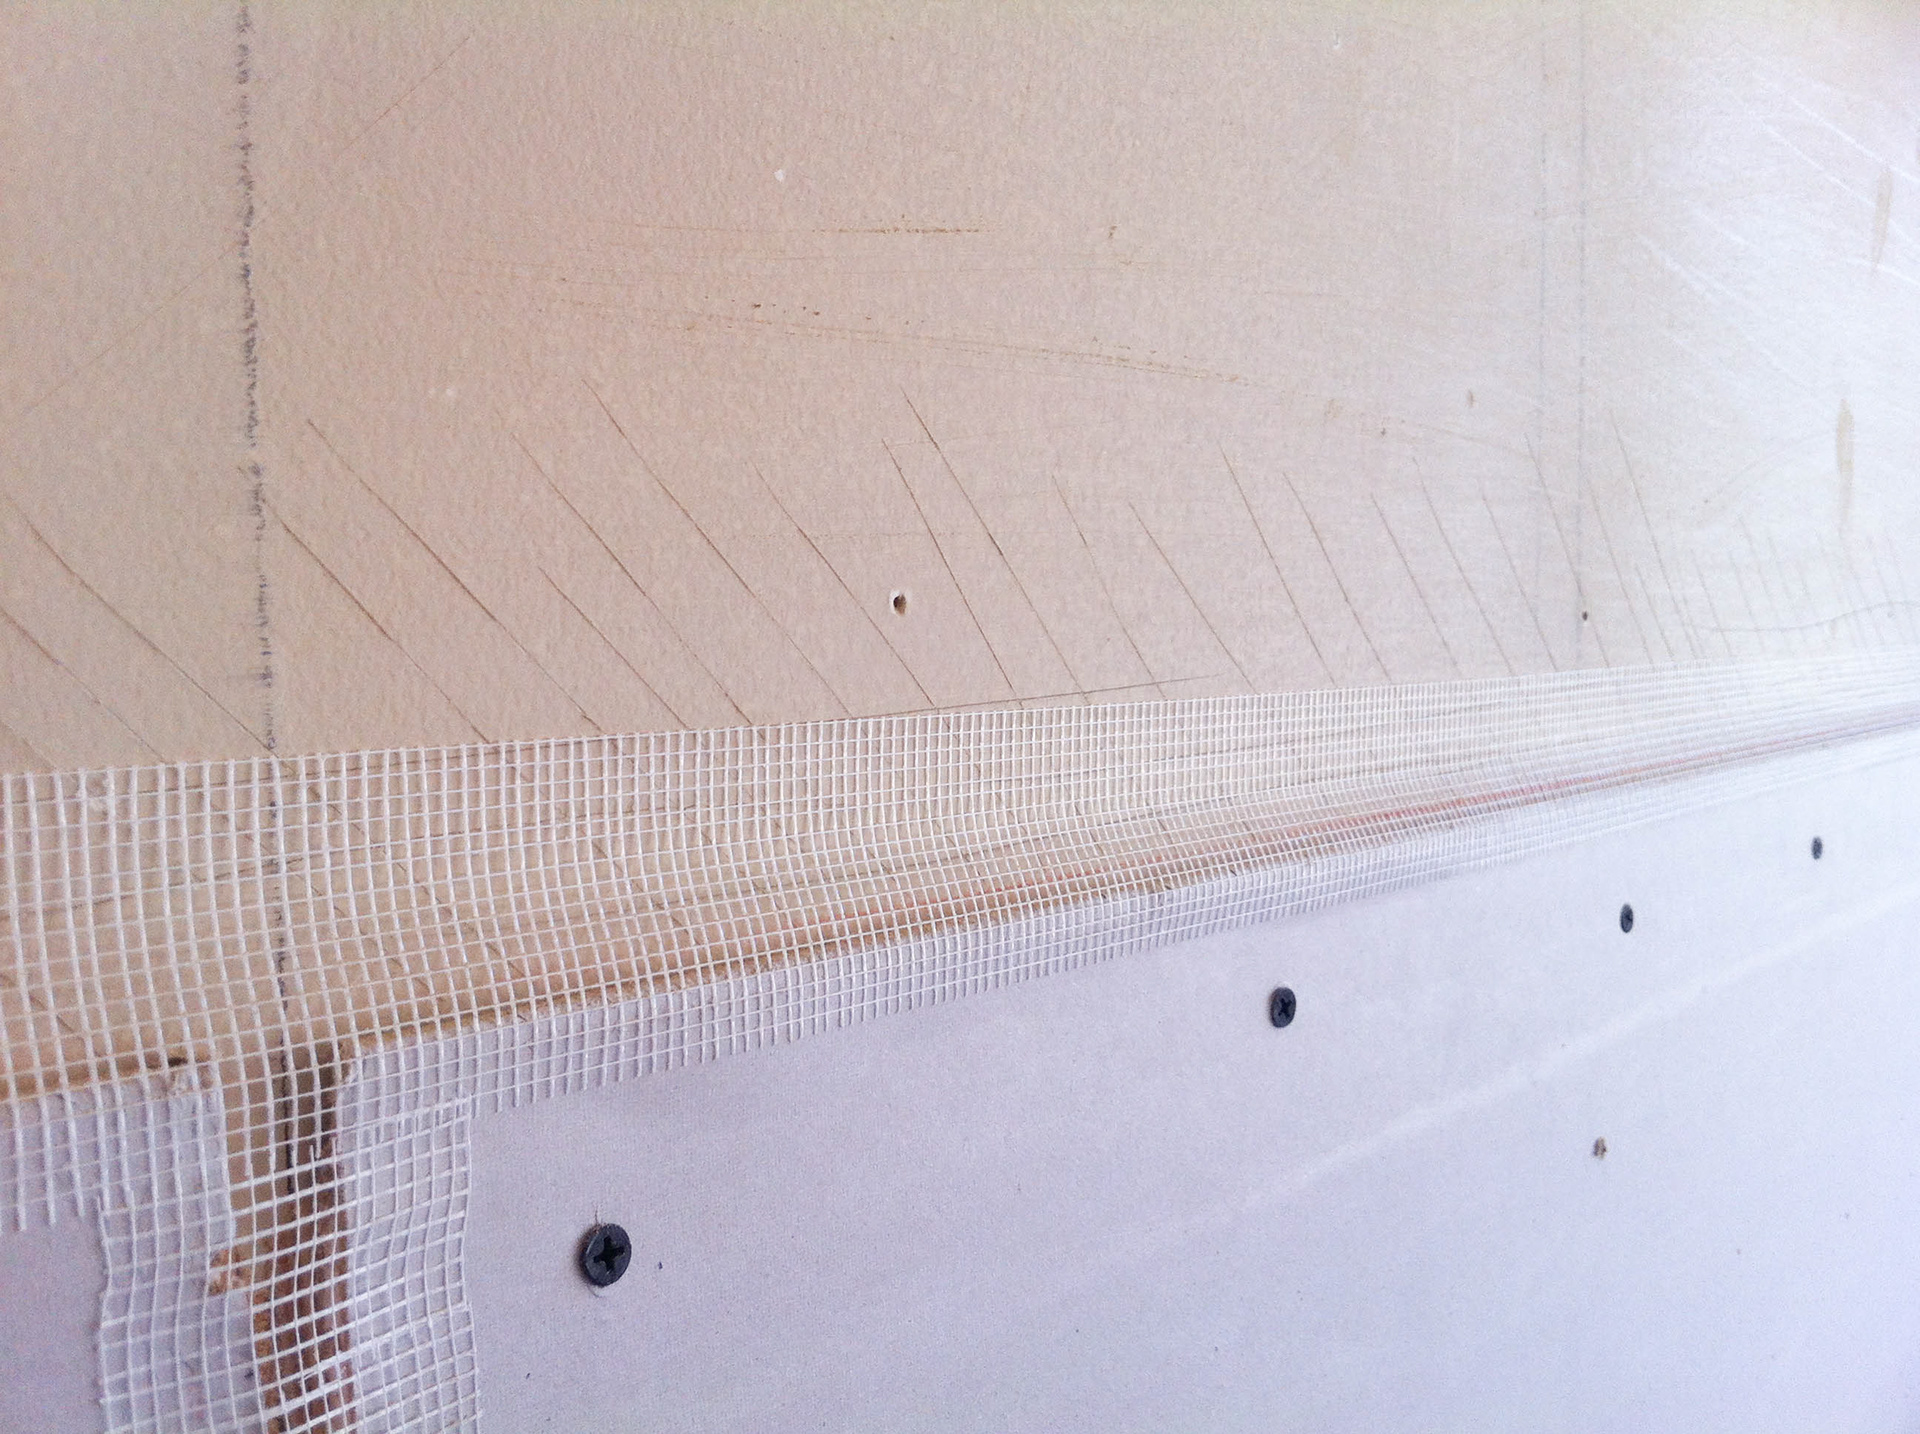
Using just 1 sheet of 1/4" sheetrock helps to ease the process of smoothing out the place where it meets the pre-existing wall by creating a relatively shallow bump to smooth out with joint compound. Above you can see the fiberglass tape that will hold the joint compound and utility knive scoring on the wall which will give the mud something to stick to as it feathers out into the plane of the wall (as you can see below)


Above you can see how the bottom corner of the cyclorama requires full coverage with joint compound. The reason for this is that the complexity of that surface (curving in two directions) allows for only a rough construction using small, pointed strips of sheetrock in either a vertical or horizontal orientation (depending on your preference) that inevitably comes out more angular than desired. Creating a smooth surface in that area inevitably becomes a sculpture task for every type of cyclorama, parabolic or otherwise.
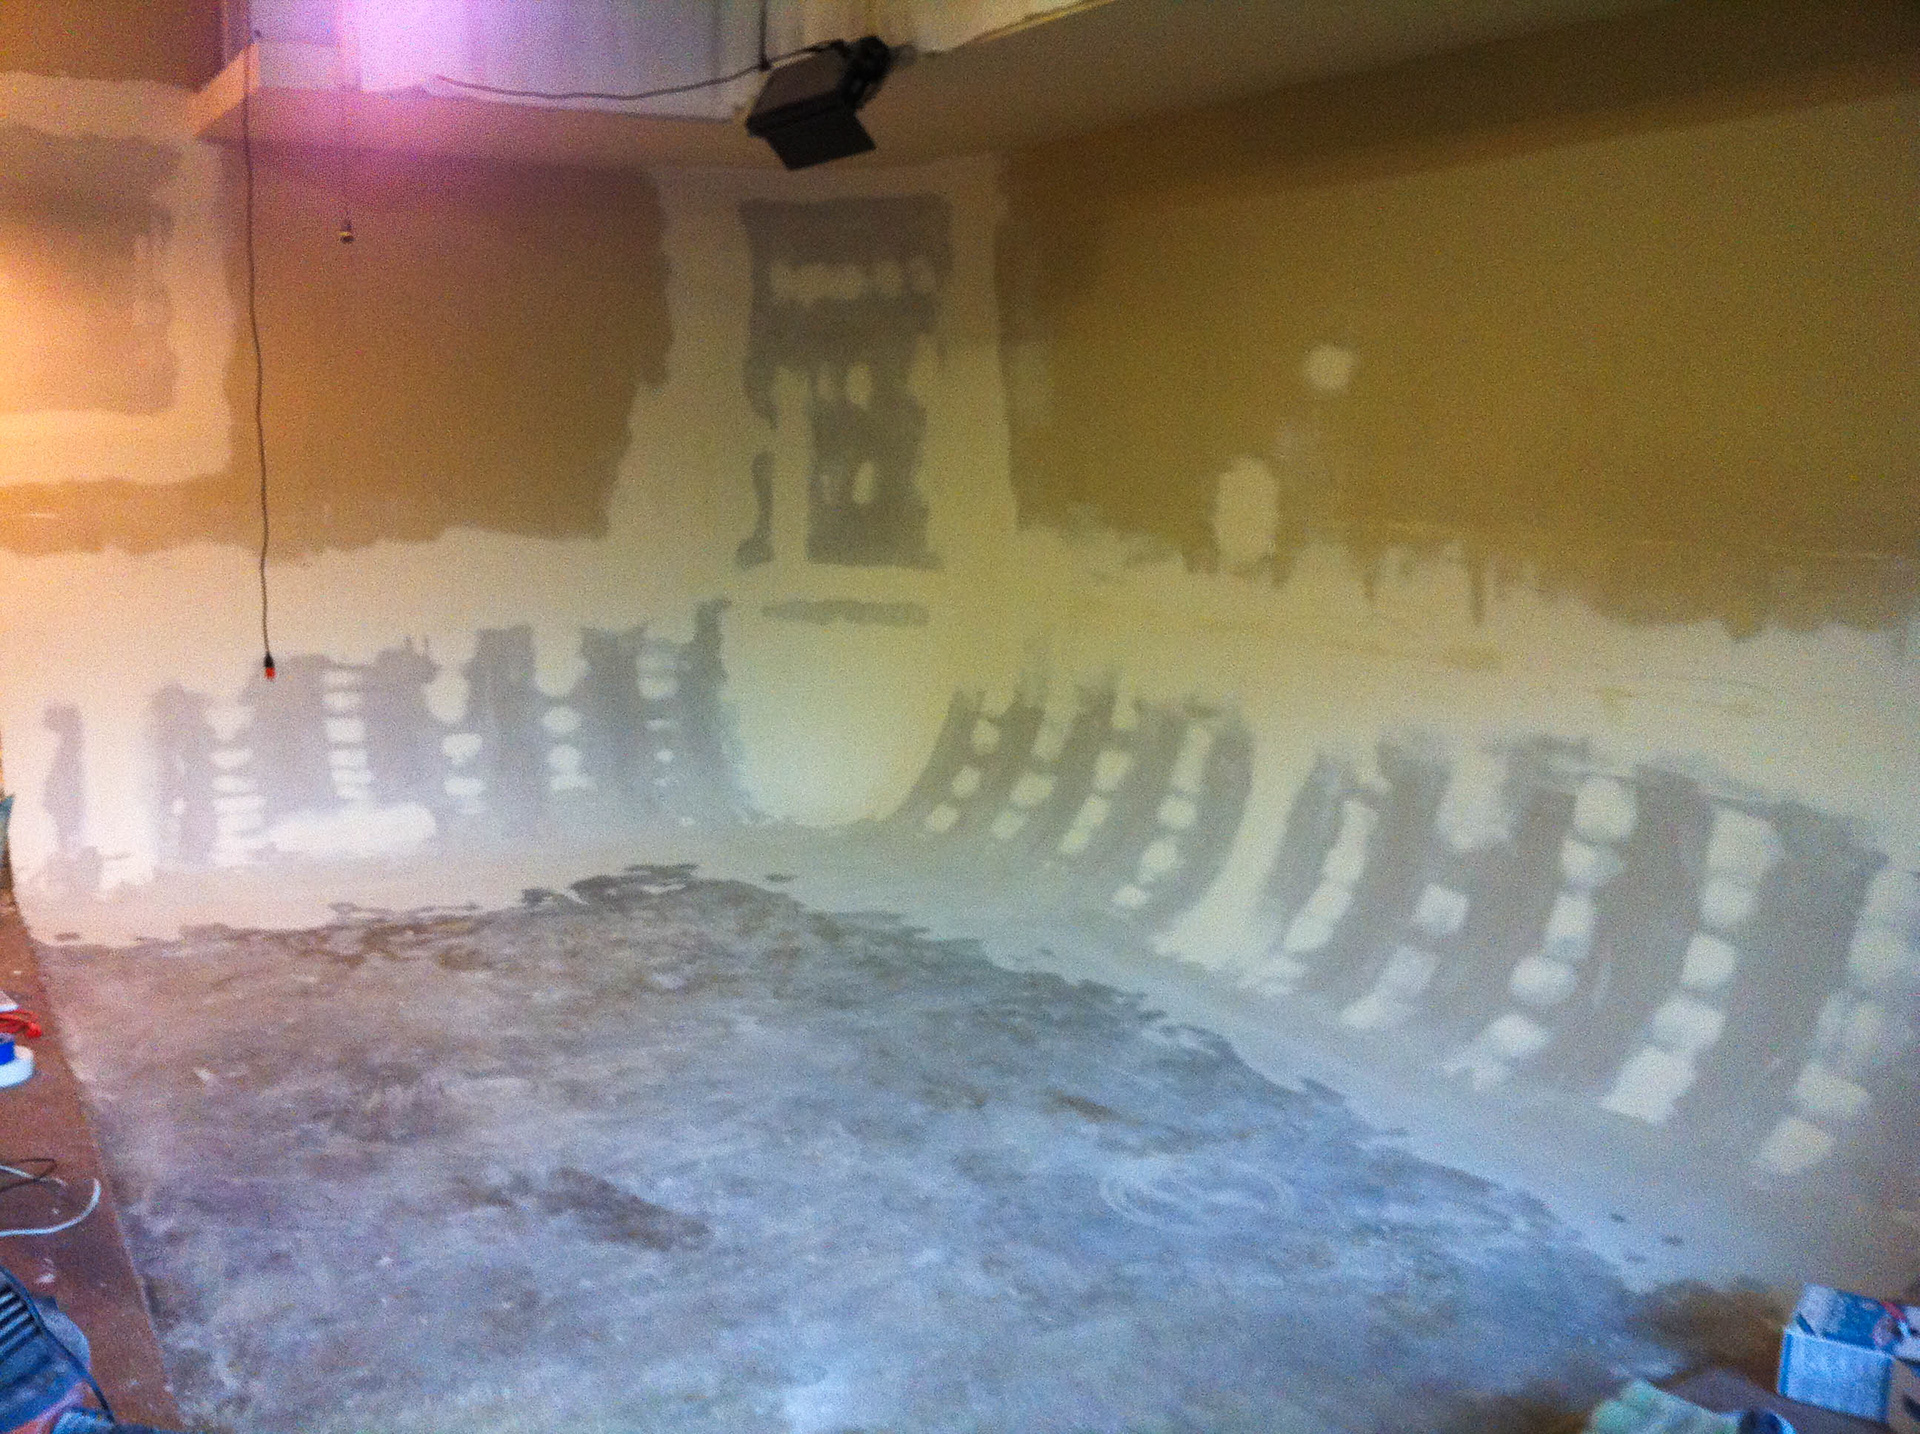
After the joint compound was all sanded, reapplied, and sanded again, the floor was carefully vacuumed and scrubbed to make a clean surface for hte application of a hard surface repair compound that would smooth out the gap where the sheetrock met the concrete. This process was almost identical to smoothing out the joint at the top of the curve except that the compound dries far harder and therefore had to be applied more meticulously in order to require the most minimal sanding possible.
The first coat of primer leaves the small cyclorama looking almost complete.
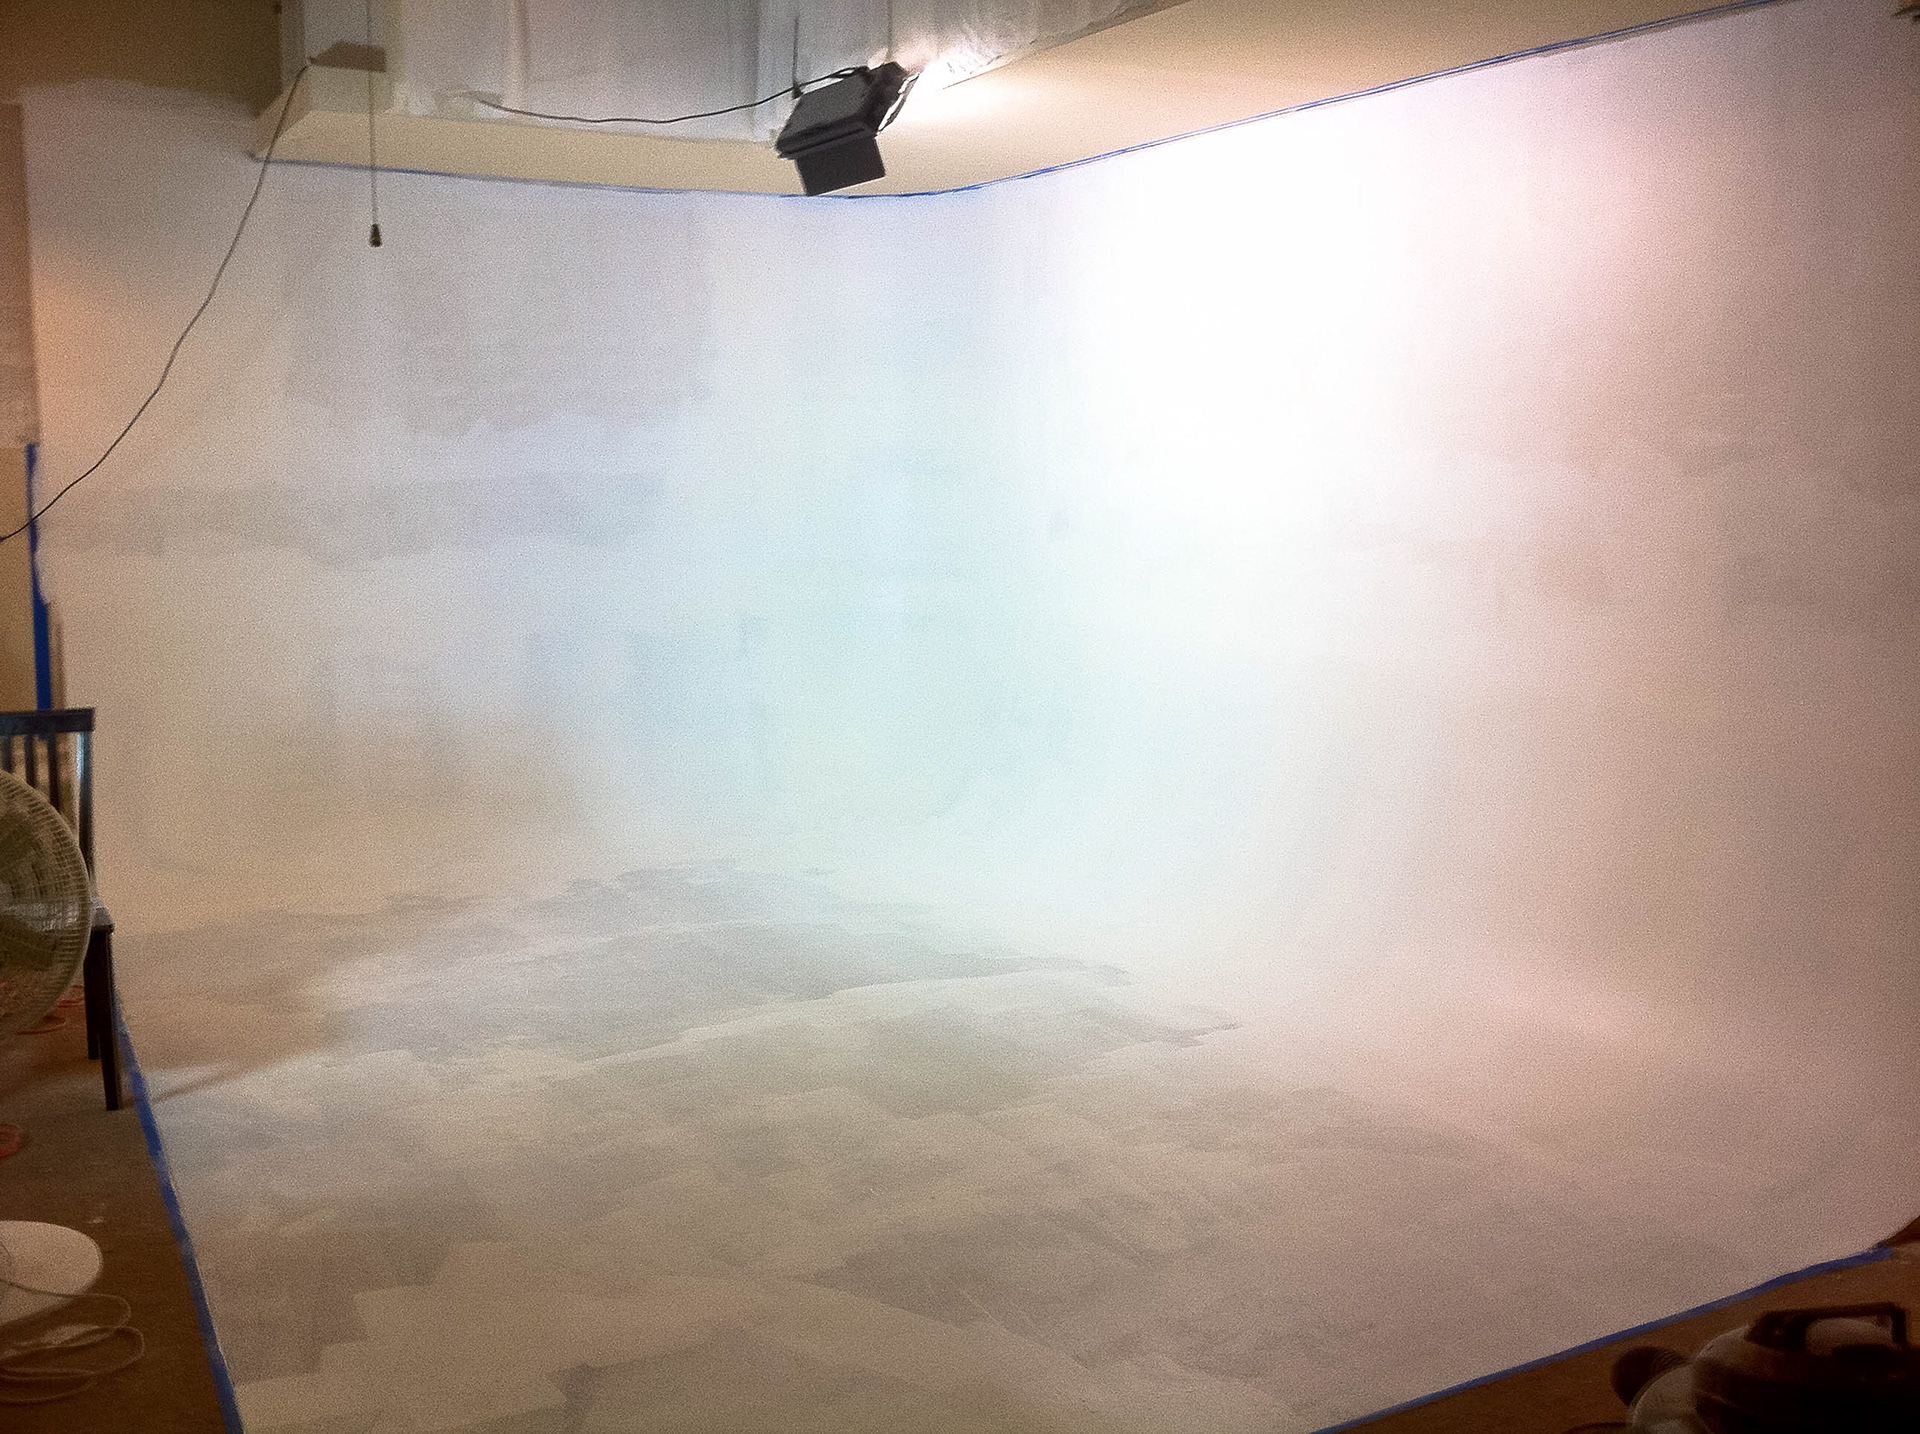
A second coat of primer left the surface looking so smooth and uniform that it looks almost featureless before applying the first coat of chroma green.
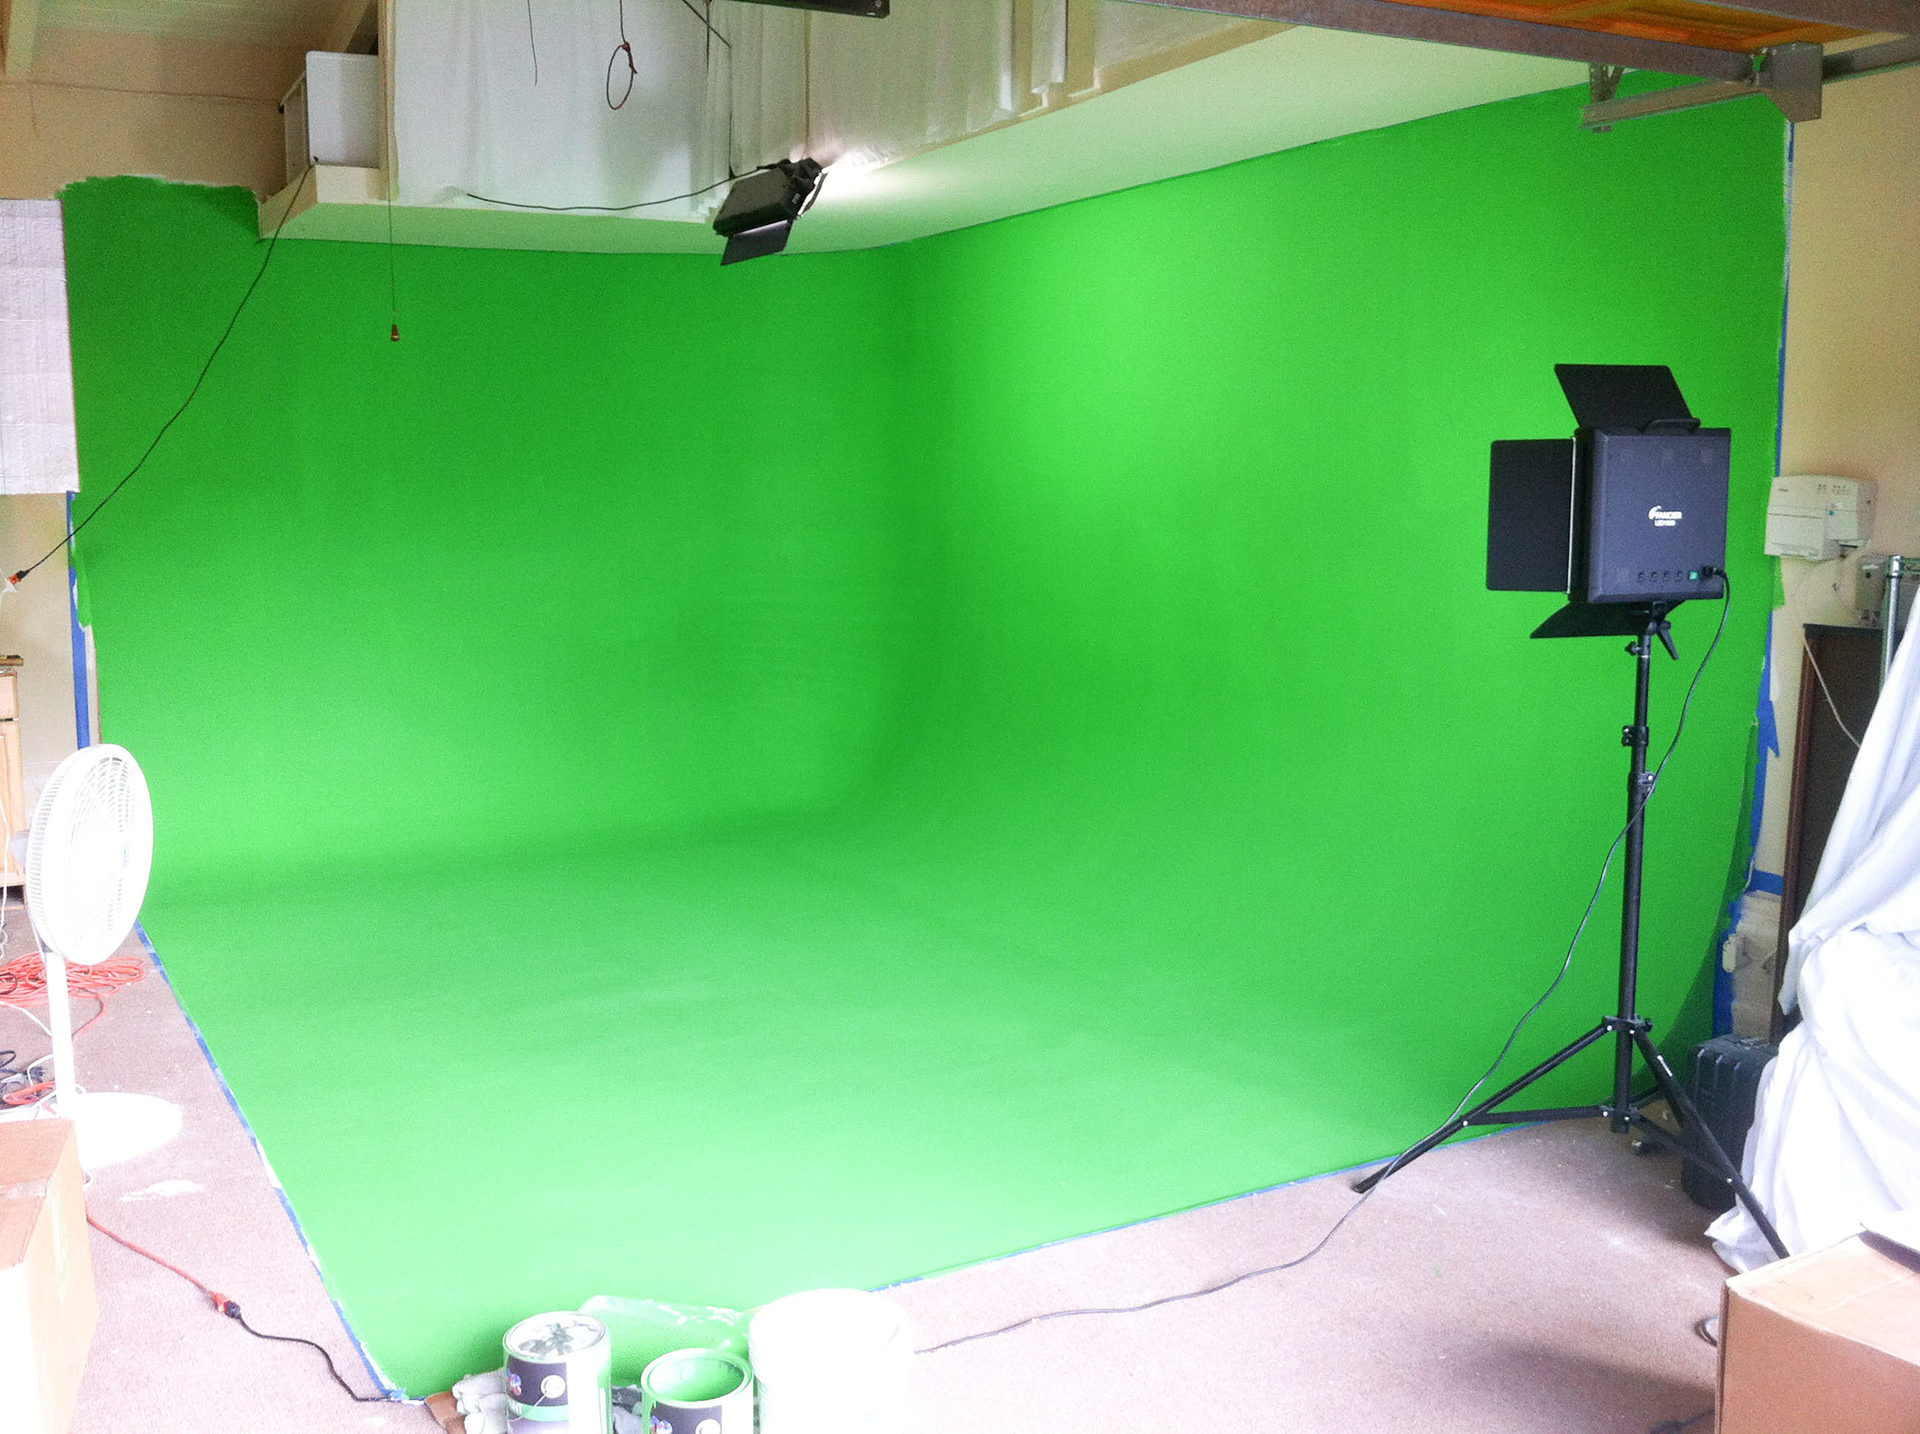
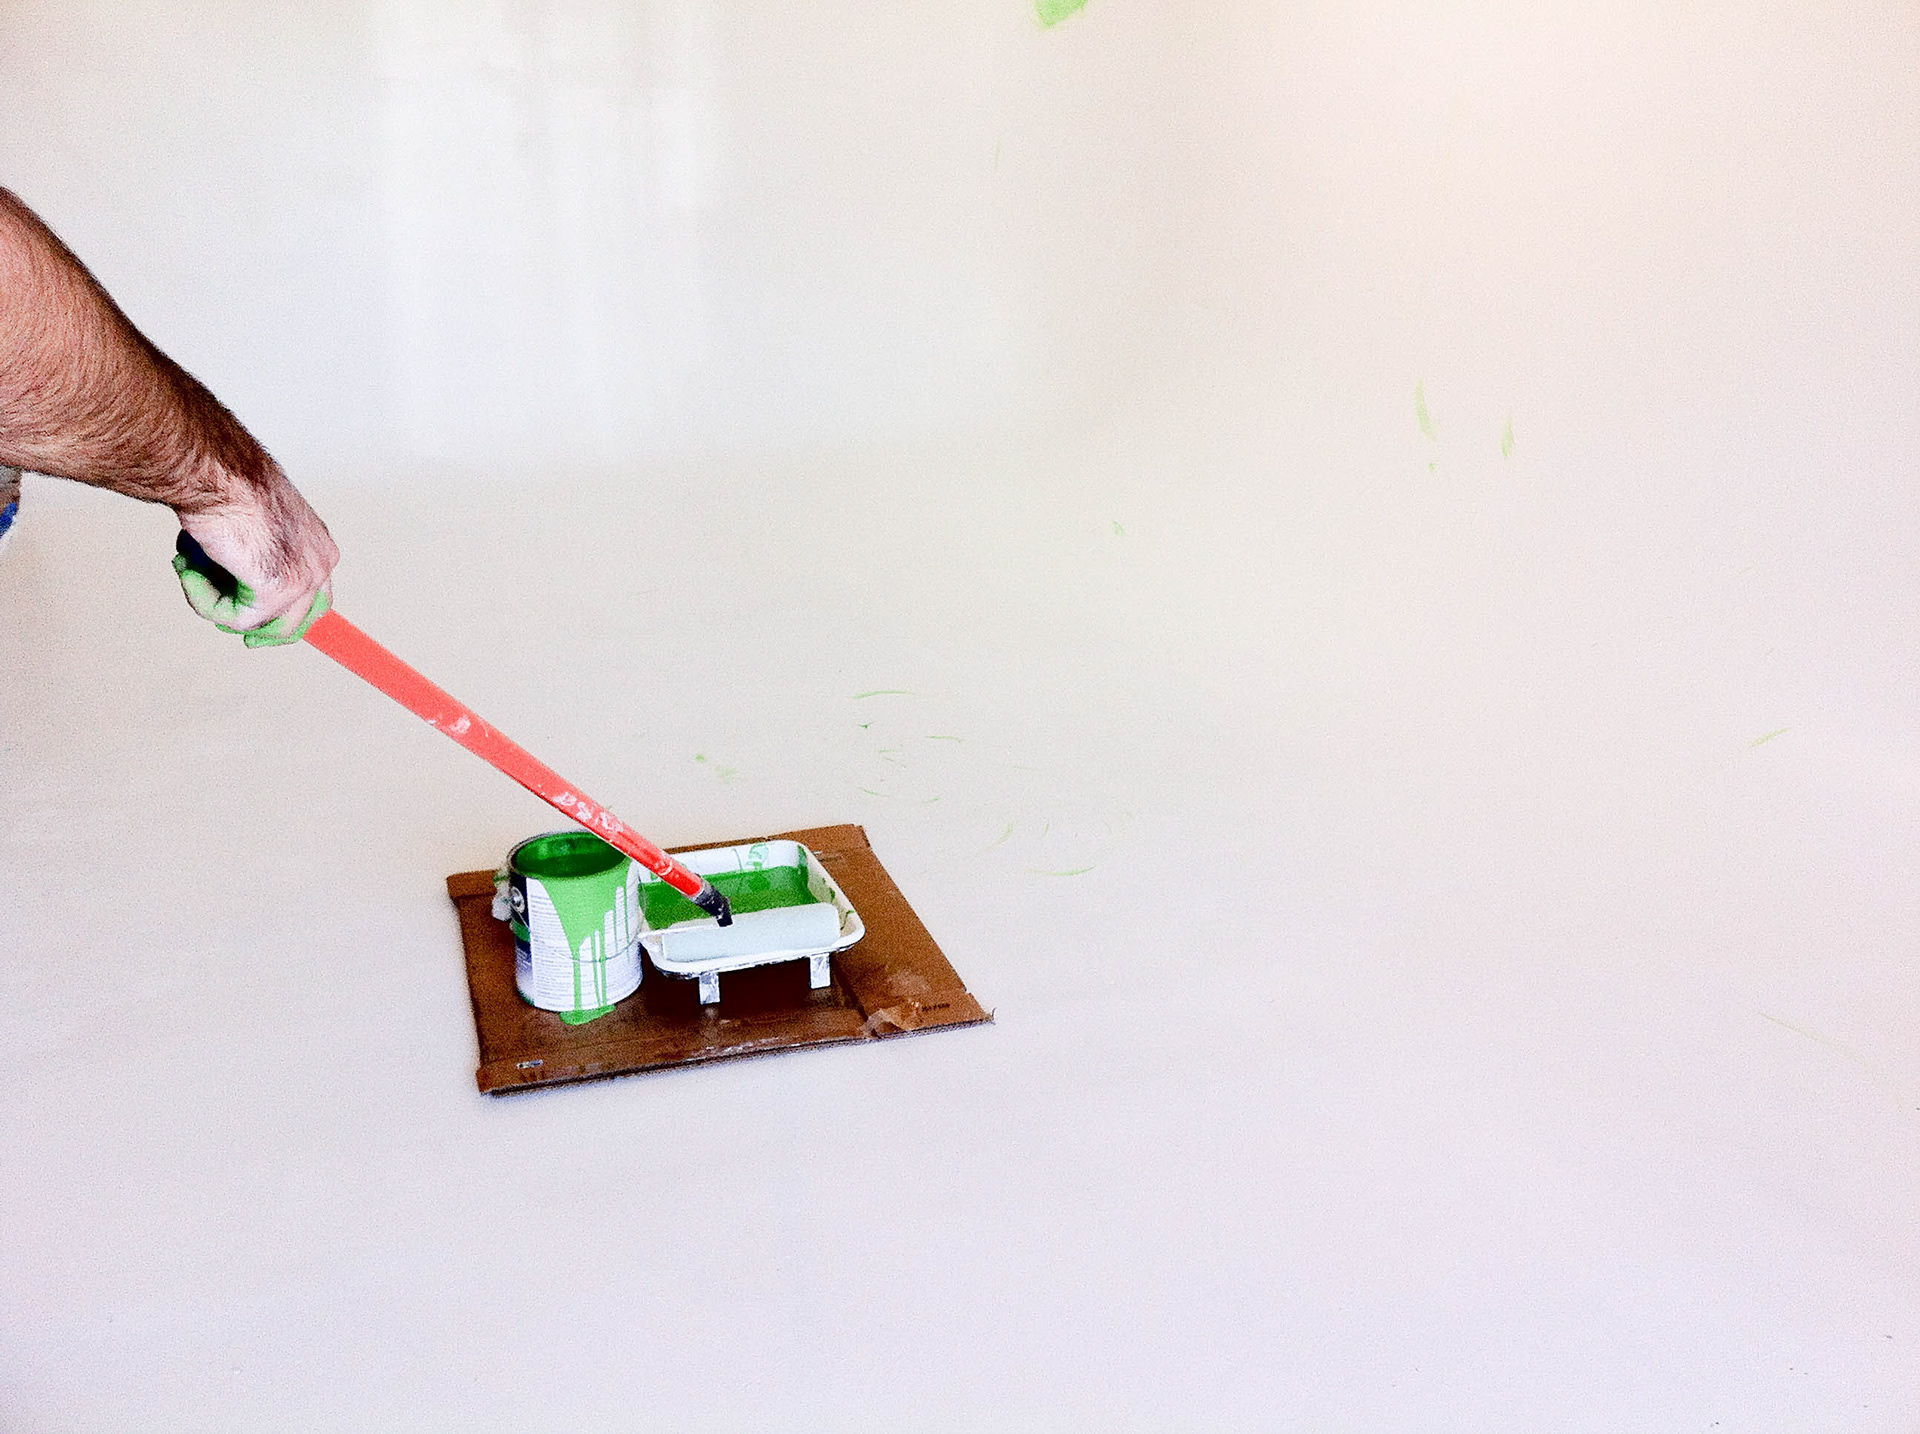
Above you can see how smooth the surface looked while the first coat of chroma green was drying. I forgot to take a photo after the second coat dried so you'll just have to trust me when I say that once the lights were properly placed and the paint was dry, it was a perfectly featureless cyc that worked quite functionally in such a small space.